A friend asked me to help with his computer because it wasn’t working well. He also wanted it to be able to run Battlegrounds (PUBG), but his budget was too tight for that. So, I decided to upgrade his old computer, which I built for him a few years ago, by reusing some of its parts.
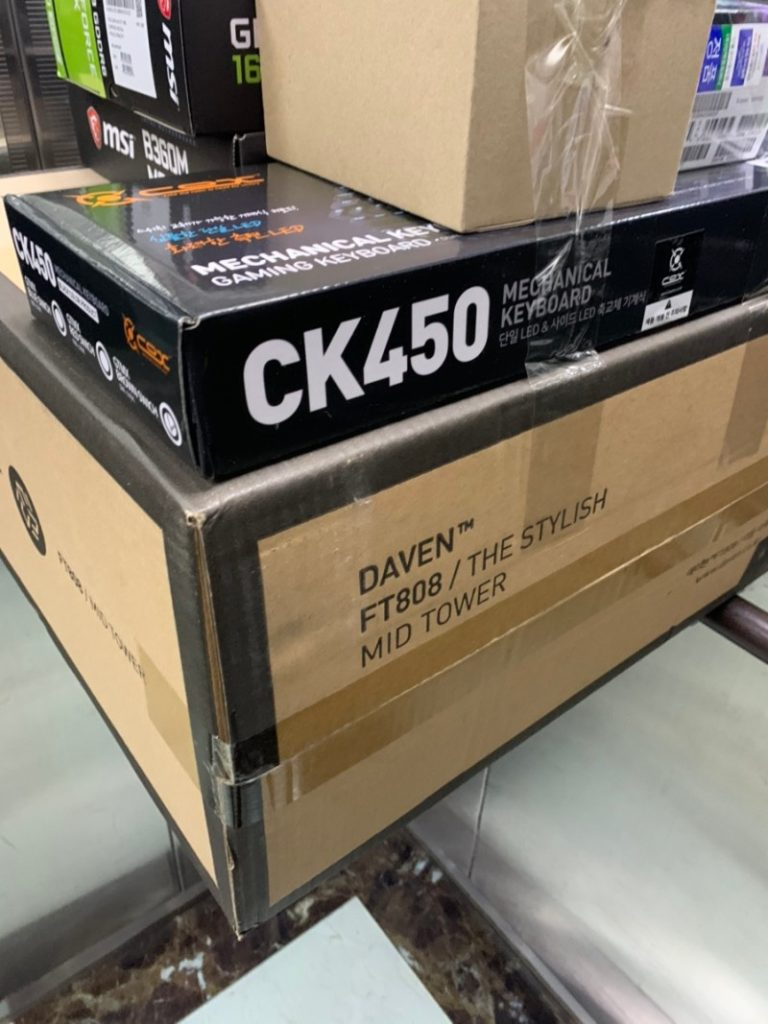
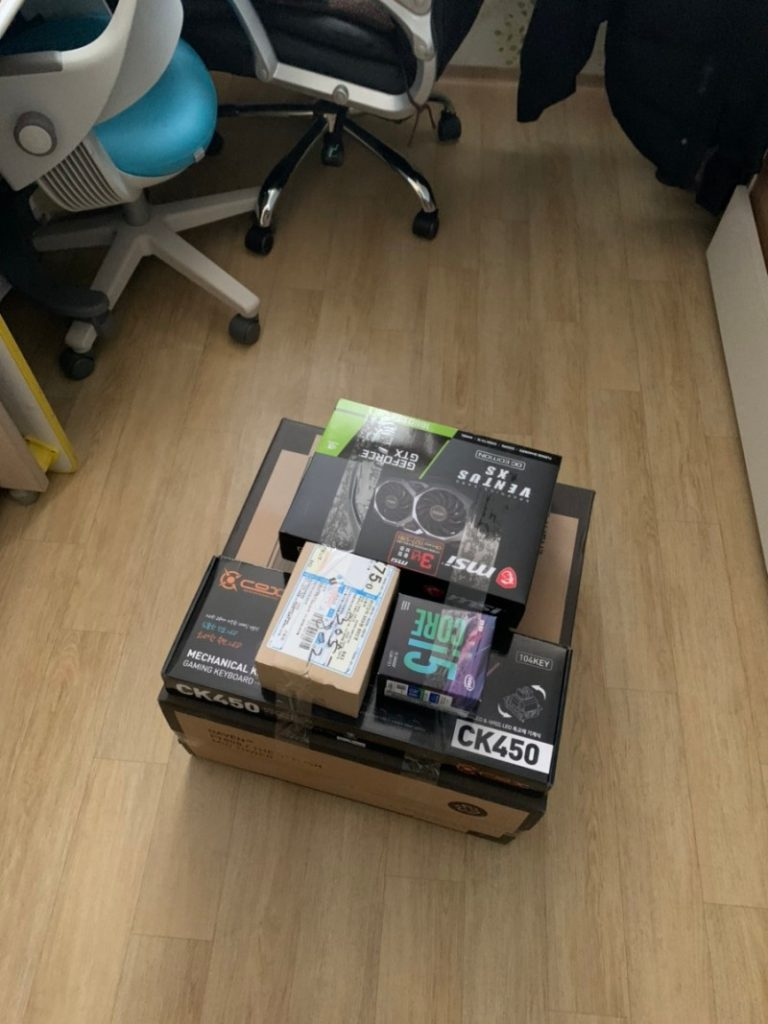
I had the new parts delivered to my house and brought them over to his place myself.
Breaking into my friend’s empty house and starting the upgrade!
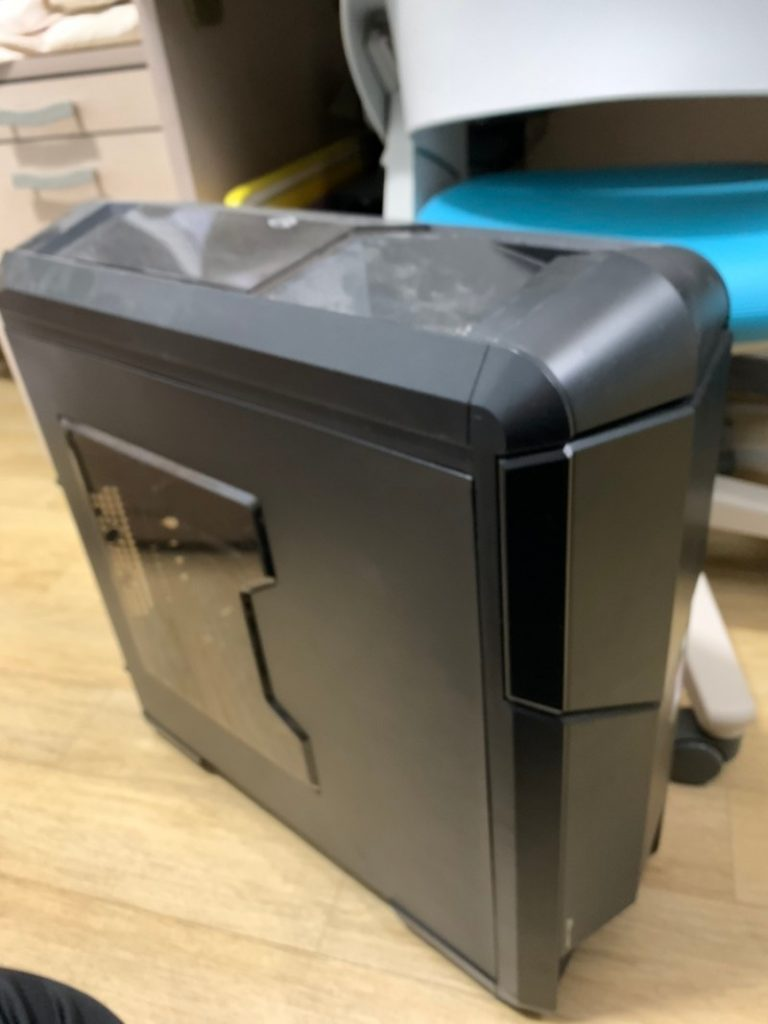
Here’s the old setup:
The case is an old Abko Viper case. It’s a big tower and quite heavy, which helps dampen noise and vibration.
The current system:
- CPU: G4560
- Motherboard: H110
- RAM: Samsung DDR4-2400 8GB
- GPU: GT1030
- HDD: 1TB
- mSATA SSD: 128GB
I realized that the computer should have been fine for basic tasks, but he said it wasn’t working well. When I looked into it, I saw that he had filled up the 128GB SSD with documents and movies, even though I had set up separate folders on the HDD for those. So, he had been using only 100GB for about three years, which made the SSD sluggish.
Let’s start the upgrade.
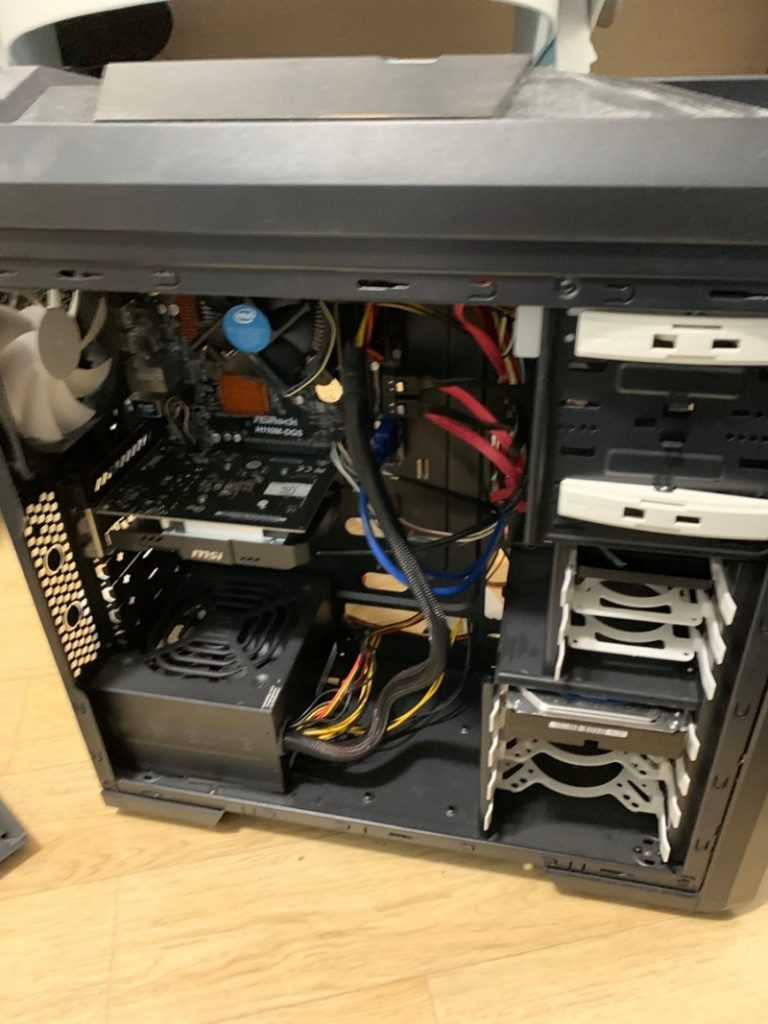
Opening up the case!
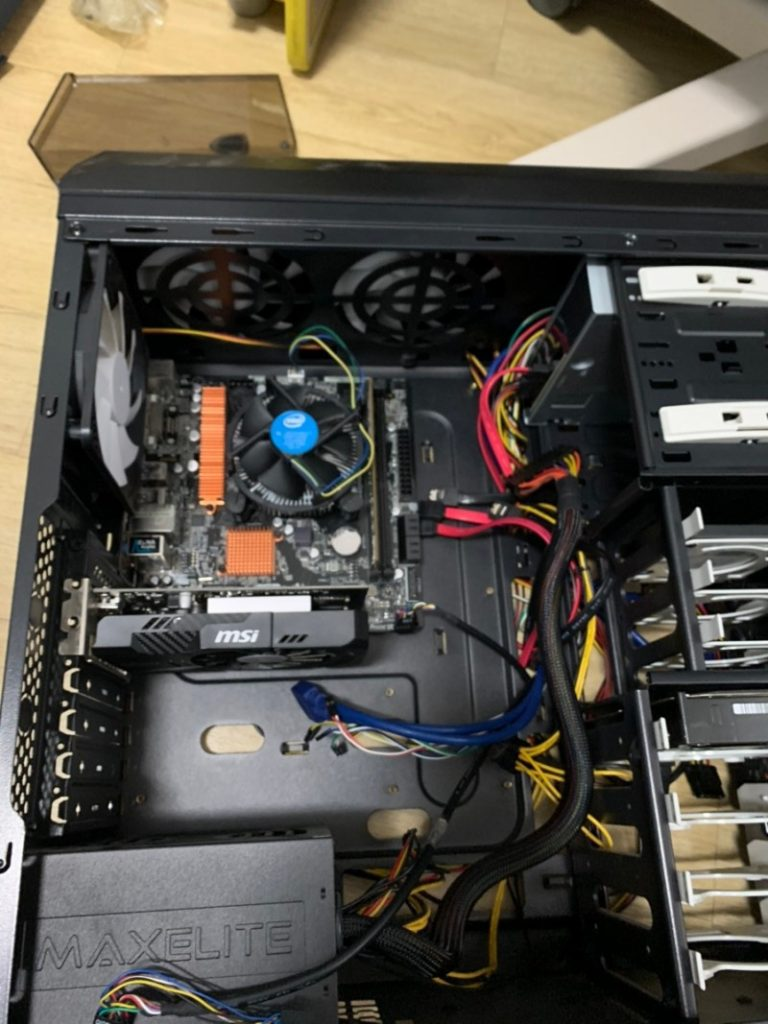
The small motherboard looked quite lonely in the big tower case. I had originally swapped out a low-end case for this one because the switch broke. It was a spare I had at home.
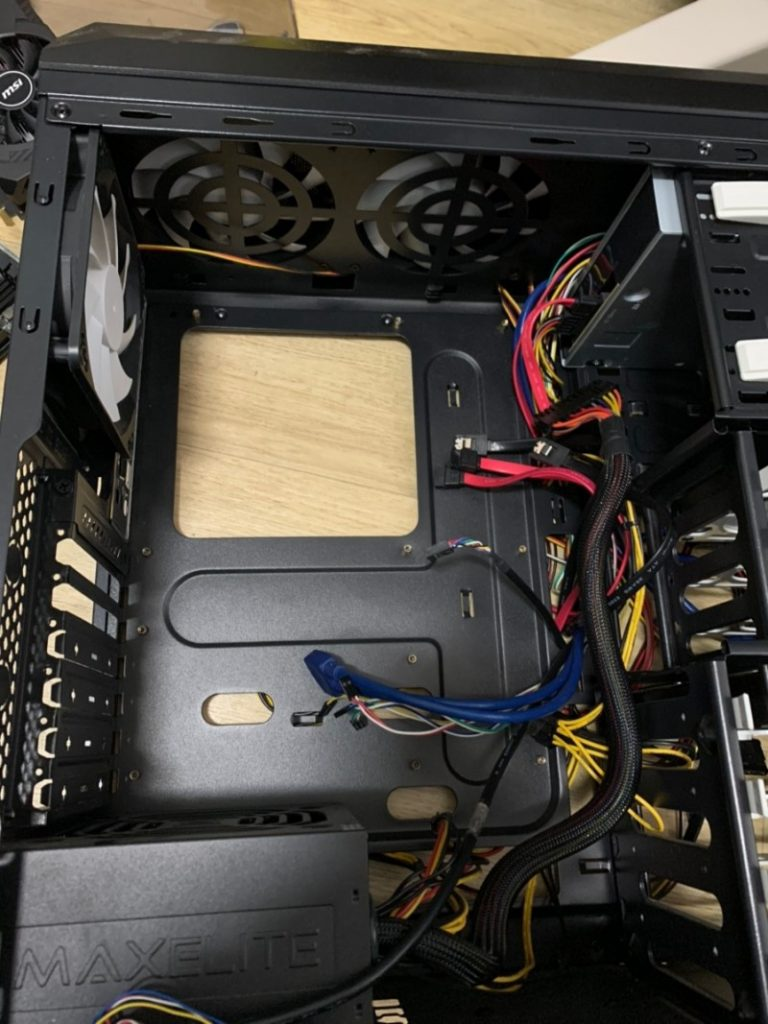
Clearing out the old parts.
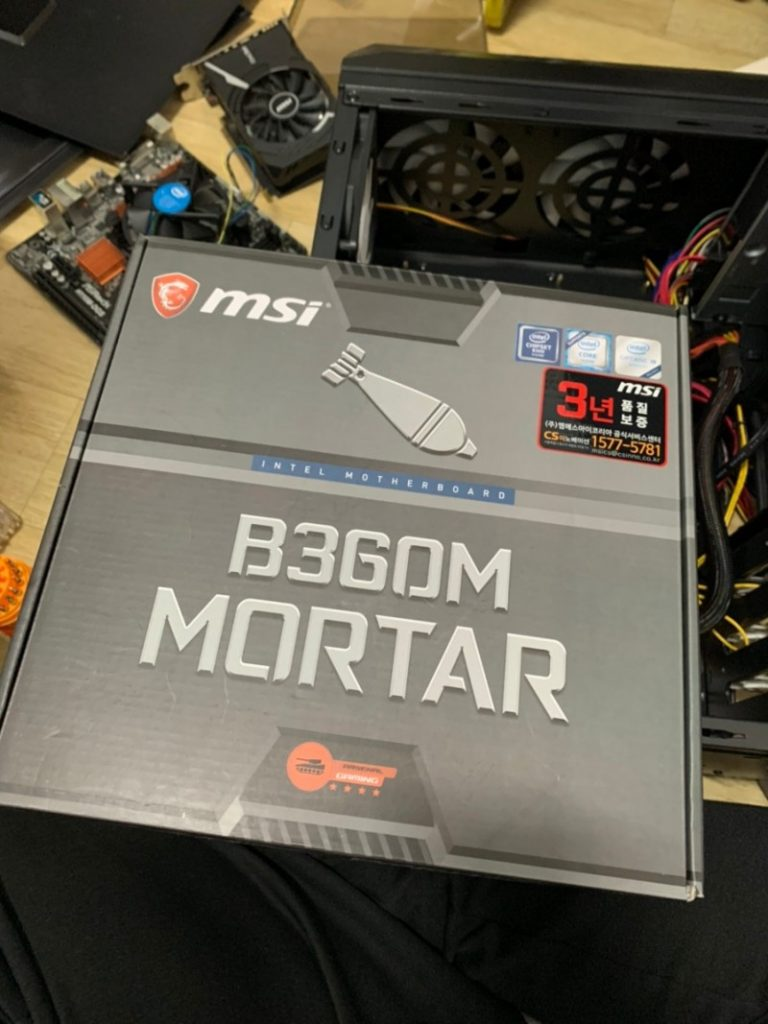
I got a great deal on an MSI B360M Mortar motherboard. I thought it might be overkill for a 9400F, but it’s a 6-core CPU, so it’s better to pair it with a solid B360 board. Plus, I got it at the price of an H310.
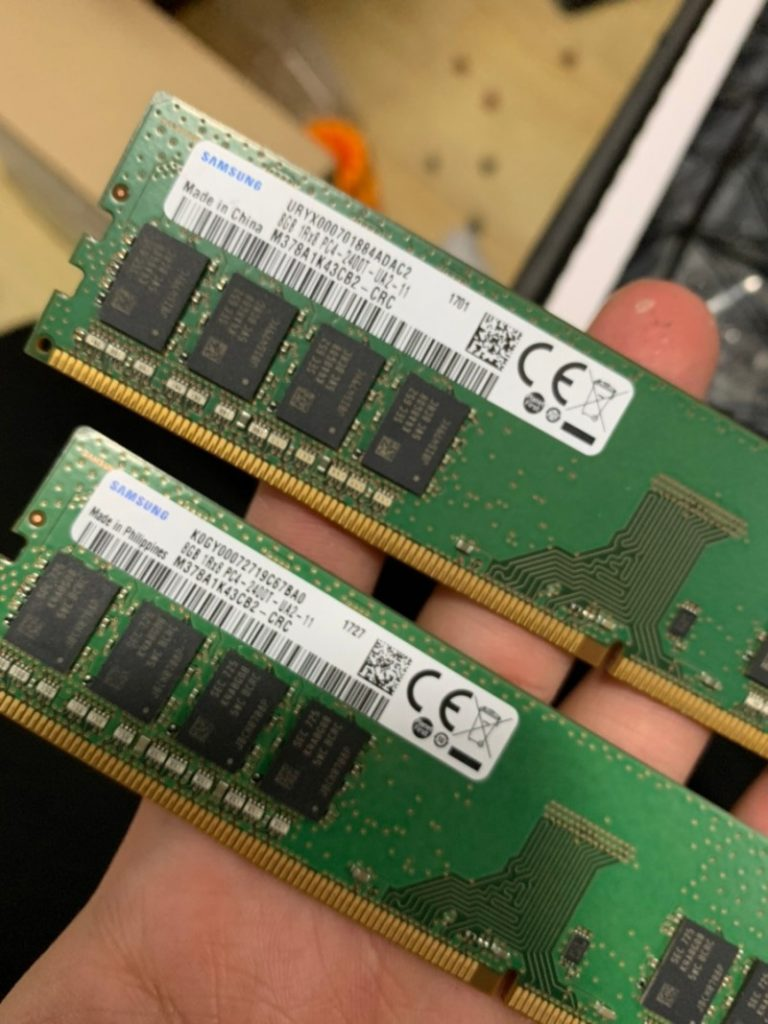
Here are the old and new RAM sticks. I bought another DDR4-2400 stick to match the existing one, as overclocking it to 2666MHz wouldn’t be a problem.
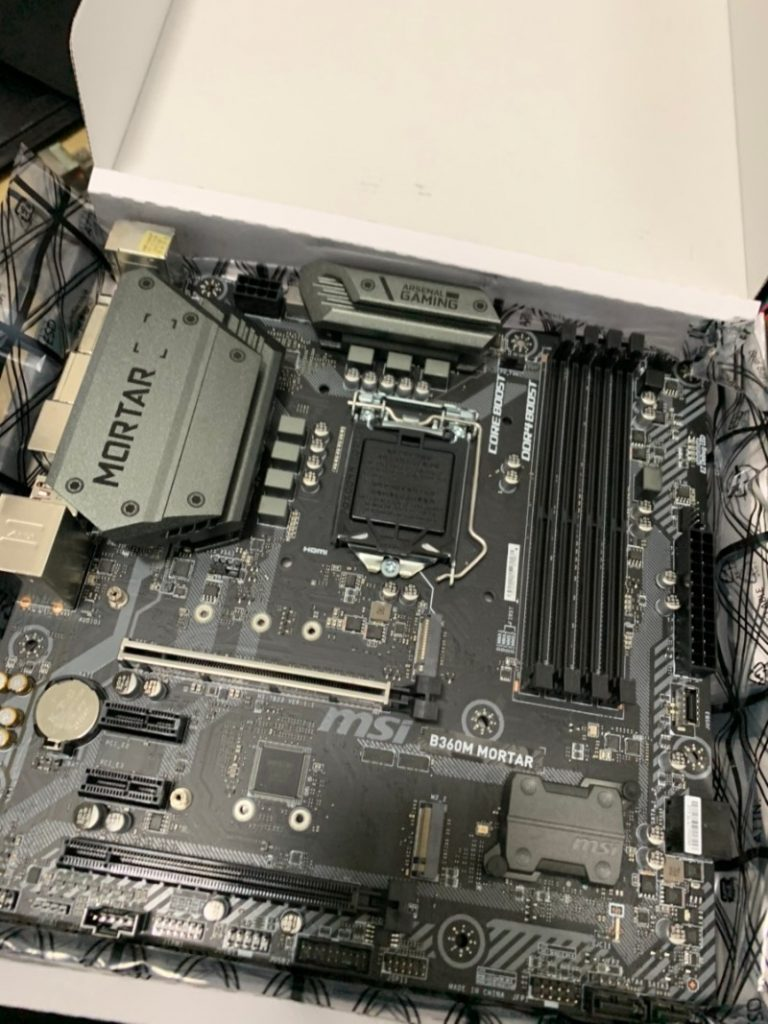
The motherboard!
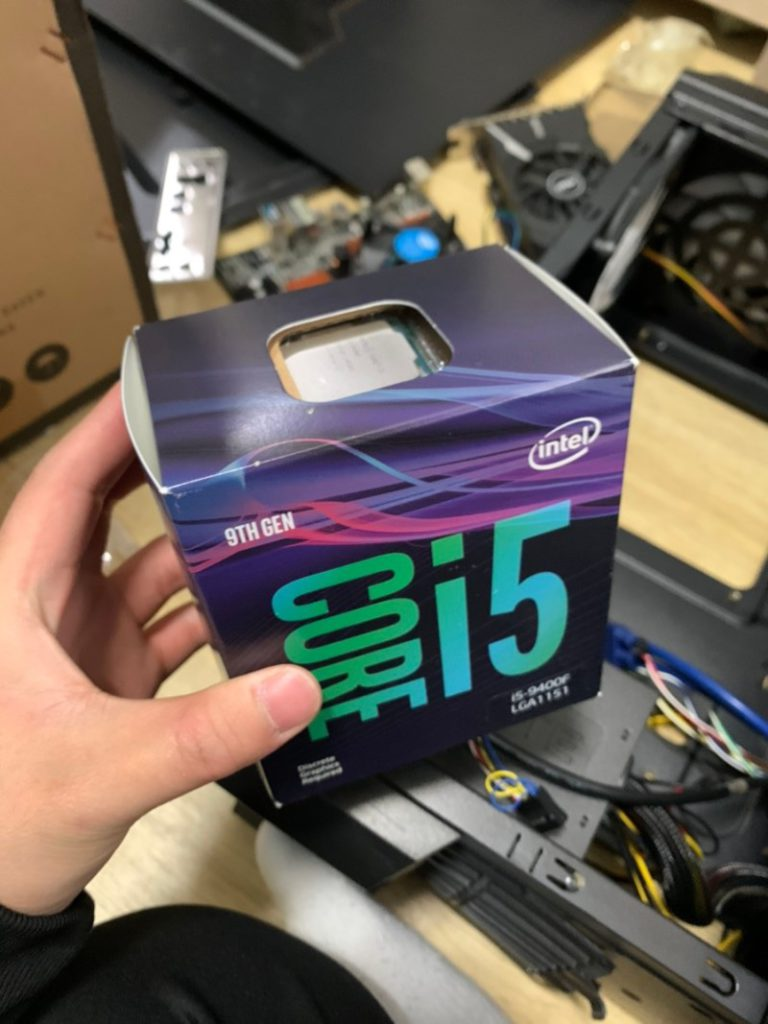
The CPU!
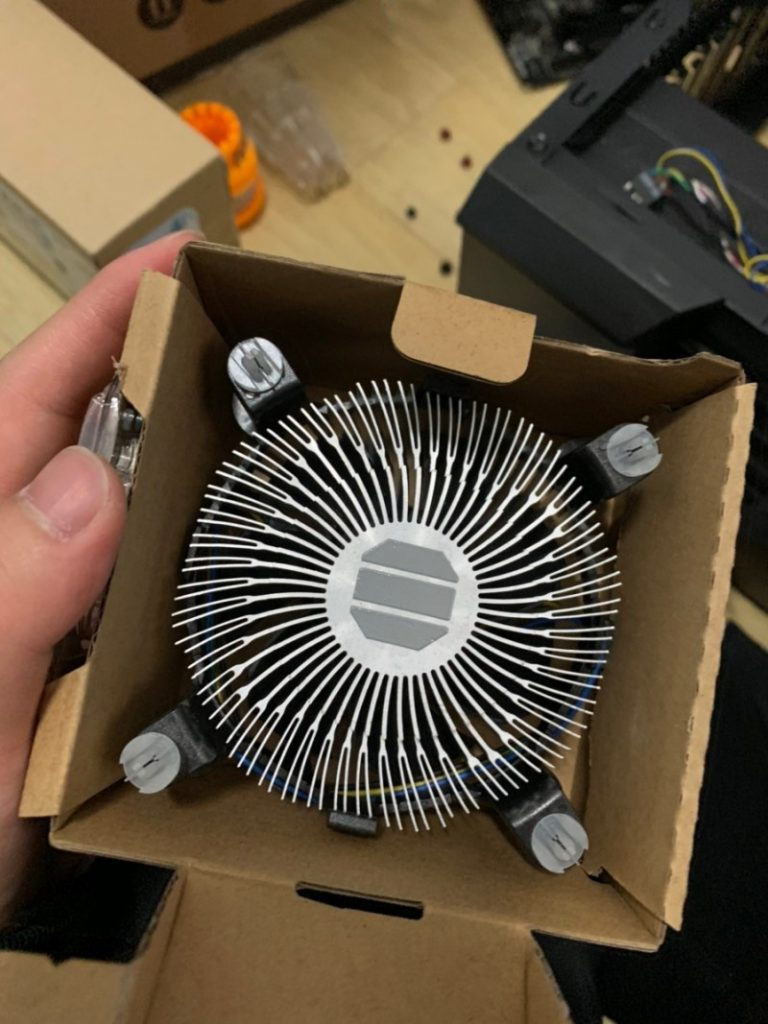
The cooler!
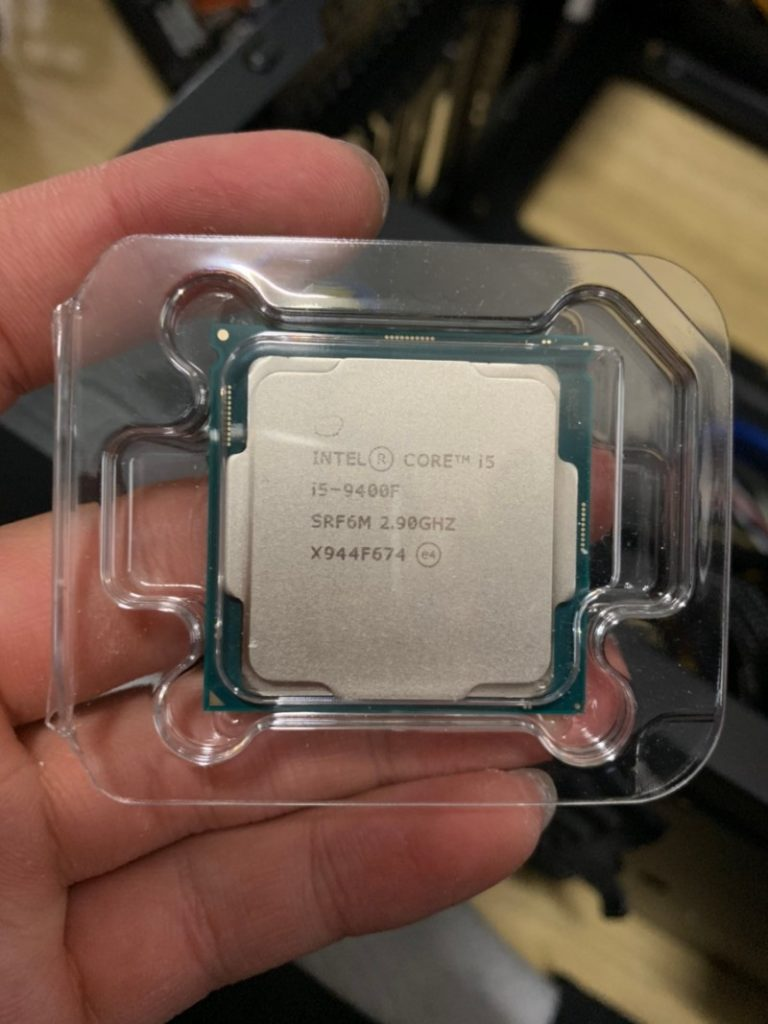
The 9400F!
The 9400F is a great CPU. Even though Ryzen allows for overclocking, Intel’s CPUs offer better stability and performance when you overclock the RAM. As I write this, the 10th gen Intel CPUs have been released.
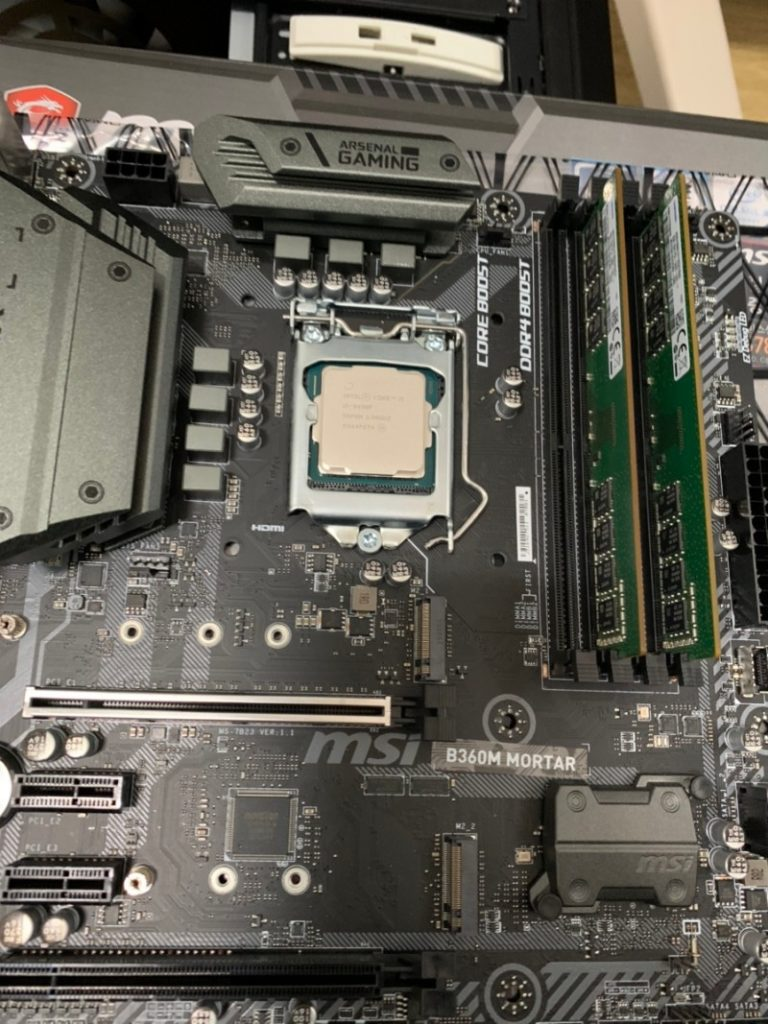
Installing the CPU and RAM.
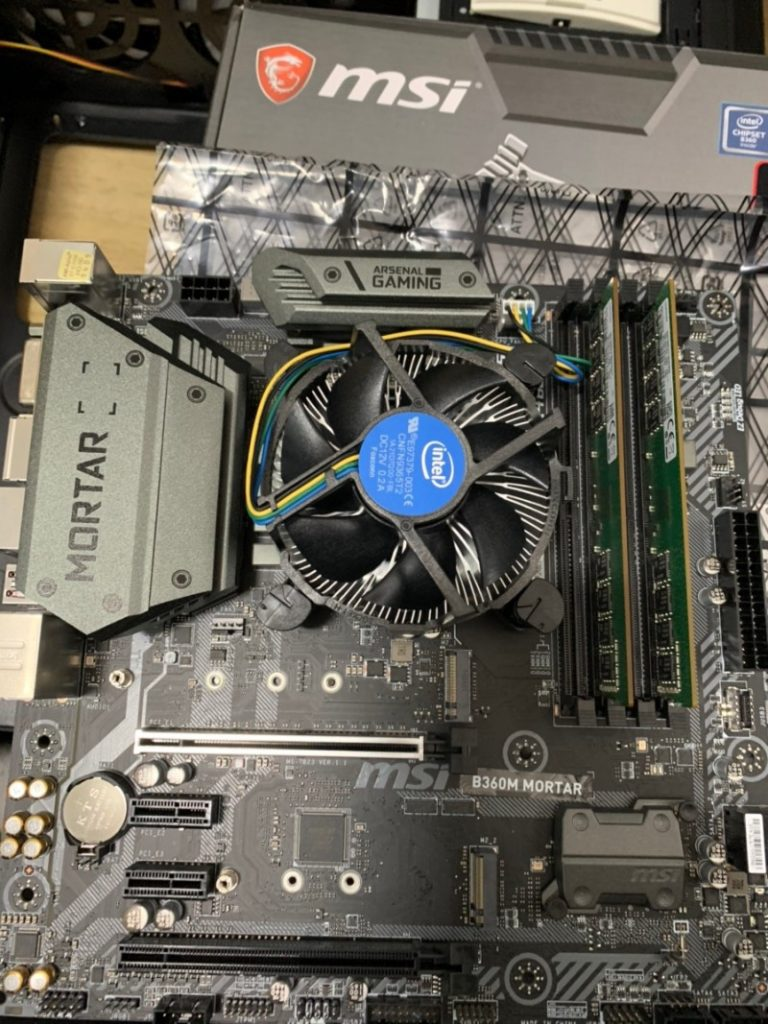
Mounting the cooler.
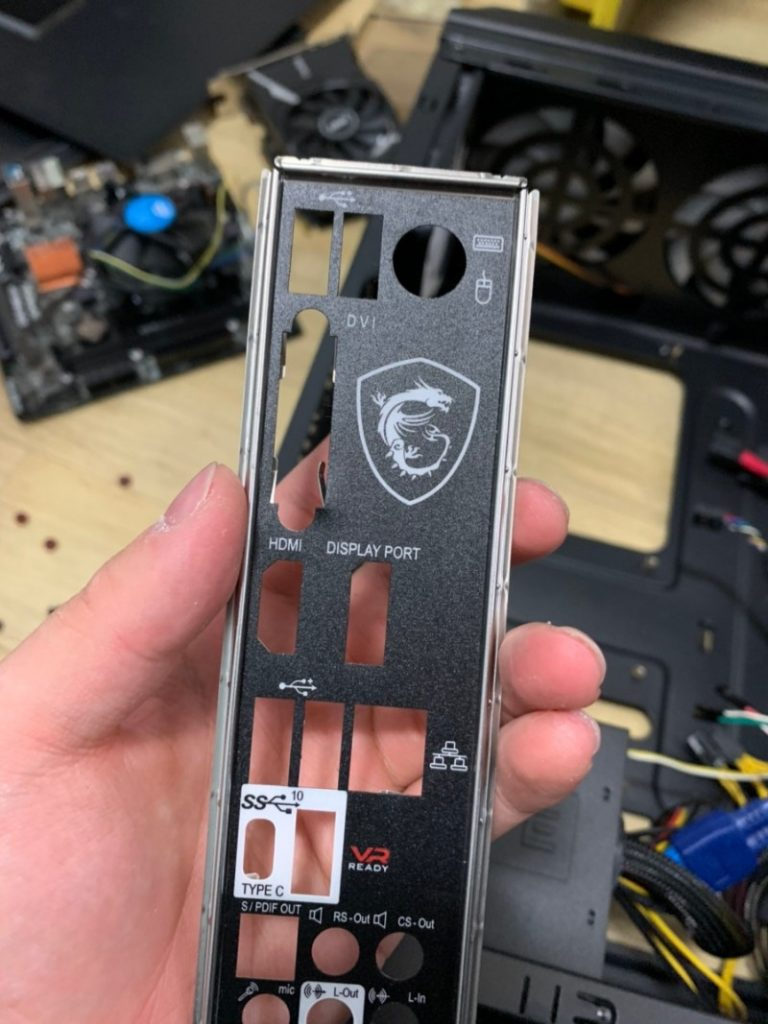
Installing the I/O shield.
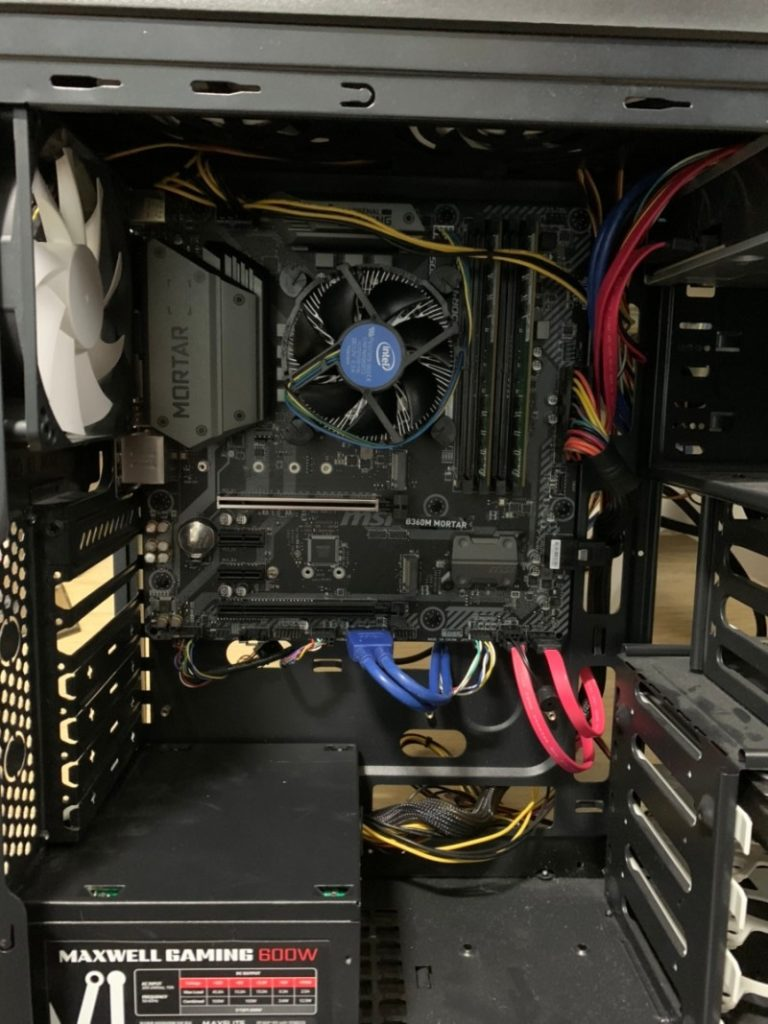
Once assembled and cable-managed, all that’s left is to install the graphics card.
Given the age of the case and power supply, the cables were a colorful mess.

I chose the 1660 Super for the graphics card, also from MSI for consistency.
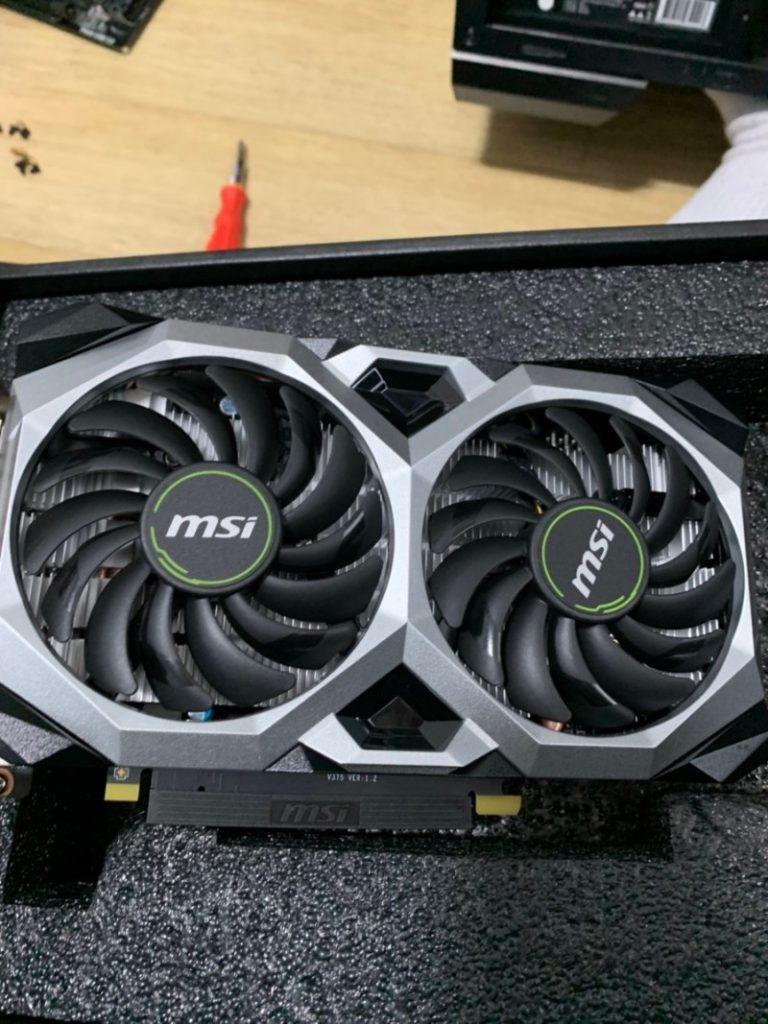
Despite being a budget option, the Ventus series has a high-quality feel with no cheap plastic and excellent finishing.
While the Ventus series can suffer from coil whine and high fan noise with the 2060 Super or higher due to increased power consumption, the 1660 Super doesn’t have these issues as it draws less power.
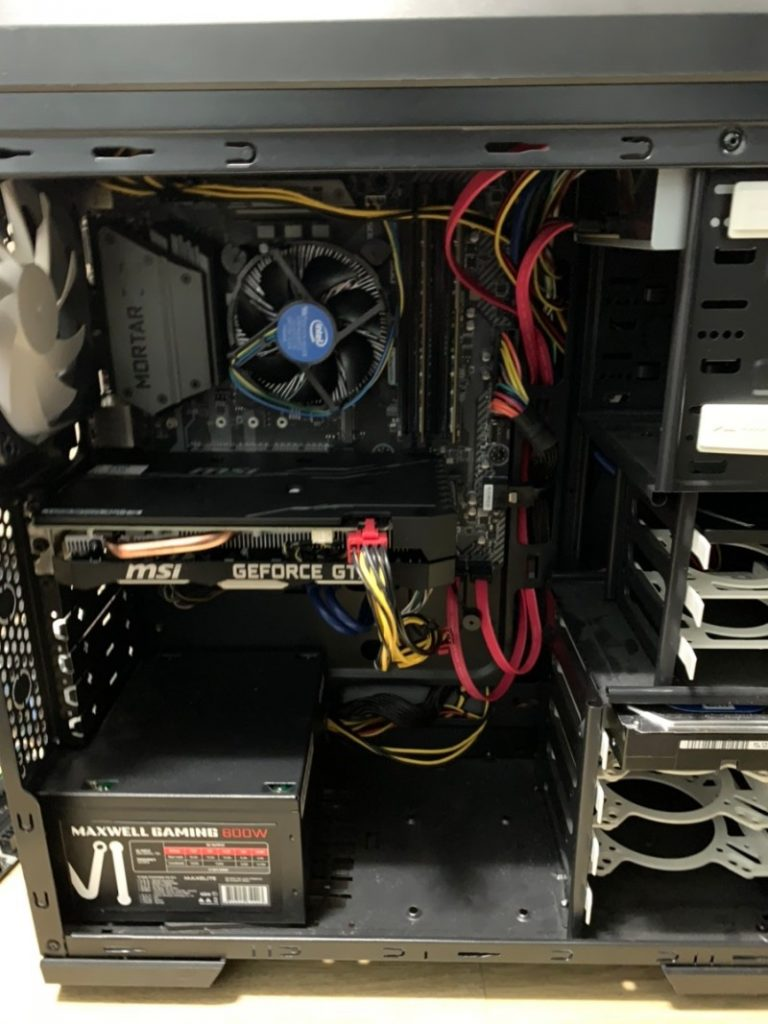
With the graphics card installed and the cables managed, the assembly was complete.
I didn’t post pictures on my blog, but I traded the CPU, motherboard, and GPU from my friend’s old setup for a spare 144Hz monitor I had. My friend found it hard to sell his old parts, so we made a deal.
I also upgraded his monitor, keyboard to a COX CK450, and mouse to a Logitech G102. I overclocked the RAM to 2666MHz CL16 and set up the SSD as a cache to make the 1TB HDD more convenient to use.
Now, his games should run great!
Unlike building a new computer from scratch, deciding which parts to keep and which to upgrade, then buying and assembling them, was a fun and unique experience.
That’s it for this post. Thanks for reading!