It’s been quite a while since I assembled it, and I’ve since given it to my younger sibling. However, I spent a significant amount of money on it, so I’m bringing it back to life as content for this post. 😂
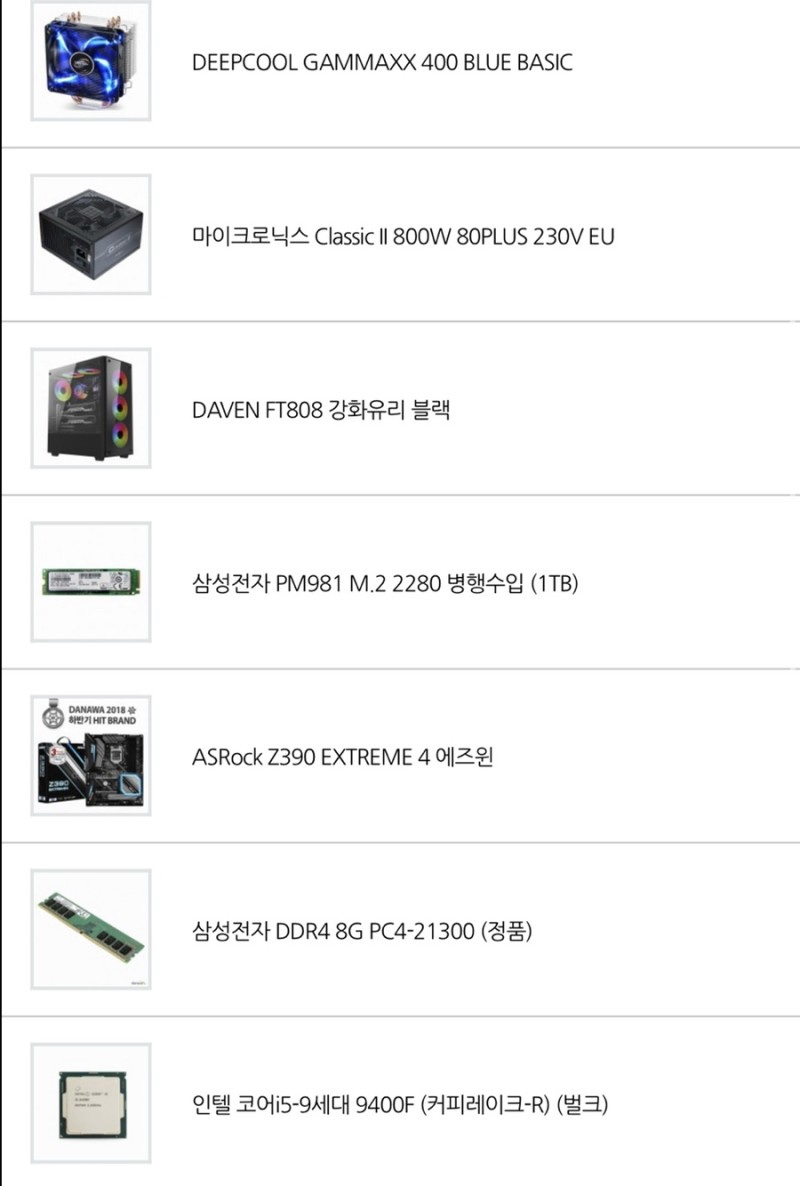
The only addition to the specifications in the picture is the Ventus RTX 2060 Super graphics card.
If you can’t stand the constant noise of an old fan, consider buying a quieter, higher-end graphics card from the start. While the Ventus series is very budget-friendly, the fan noise can be unbearable. If you’re thinking of buying a graphics card above the 2060 Super, invest in a model known for its quiet operation, even if it’s a bit more expensive. Otherwise, you might end up selling the noisy one at a loss and buying a new one later. 😂
The Ventus series is very reasonably priced, but I personally couldn’t stand the fan noise.
Also, since it was my first time buying components, I was a bit anxious, so I purchased everything from a well-known store. However, if you’re planning to assemble the PC yourself, I recommend using a site like Danawa. Avoid obscure individual shops and opt for items sold on open markets with a track record of customer purchases.
These days, packages arrive within a day or two, and you can save a lot more money than you might think.
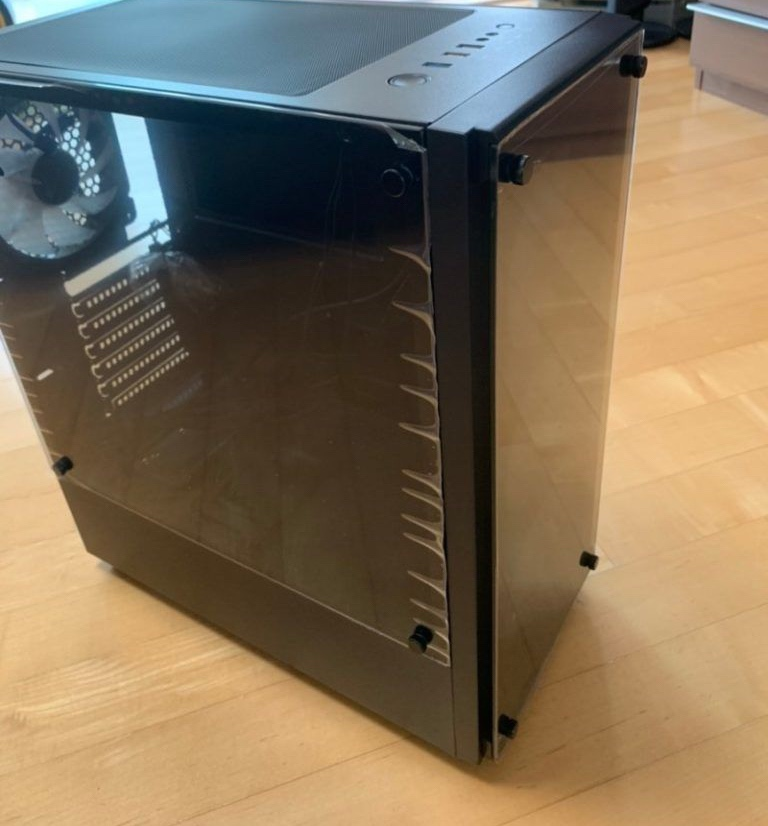
If you buy four fans, you get a case for free from the well-known Daven brand, specifically the FT808 model.
This product offers an exceptional value-for-money feel that goes beyond just being cost-effective.
However, if you plan to install a liquid cooler with top exhaust, be aware that if your RAM has heat spreaders or your radiator is a bit thick, there will be no way to install it. Make sure to check the specifications carefully before purchasing.
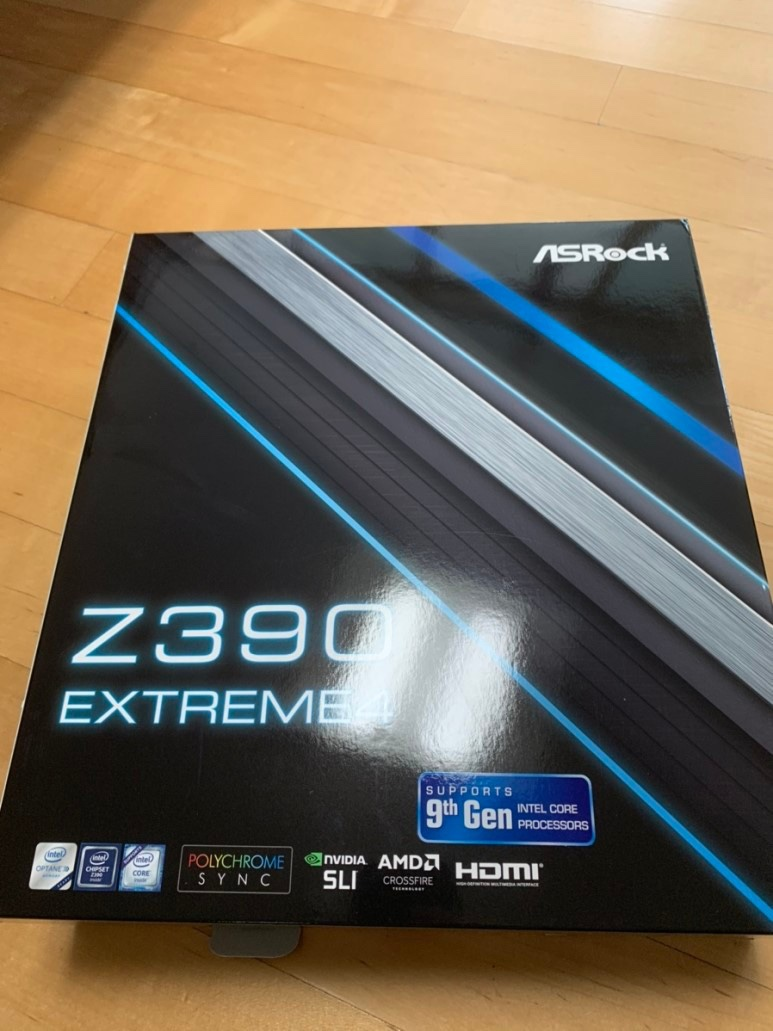
Asrock Z390 Extreme4
Despite Asrock’s reputation and some harsh criticism, this is the component I’m most satisfied with among the value-for-money products I mentioned above. 😂
While it may not be the best for extreme CPU overclocking, it handles RAM overclocking very well. It’s a solid choice overall.
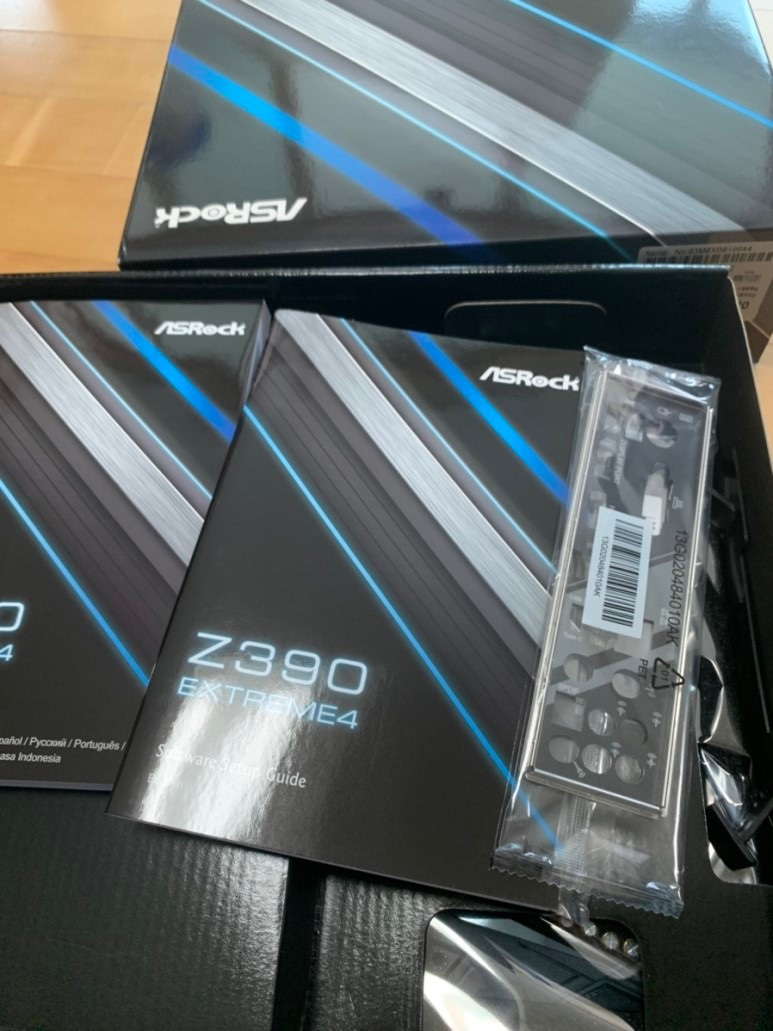
Even though it’s a budget line, the packaging is sturdy, and everything is well-packaged.
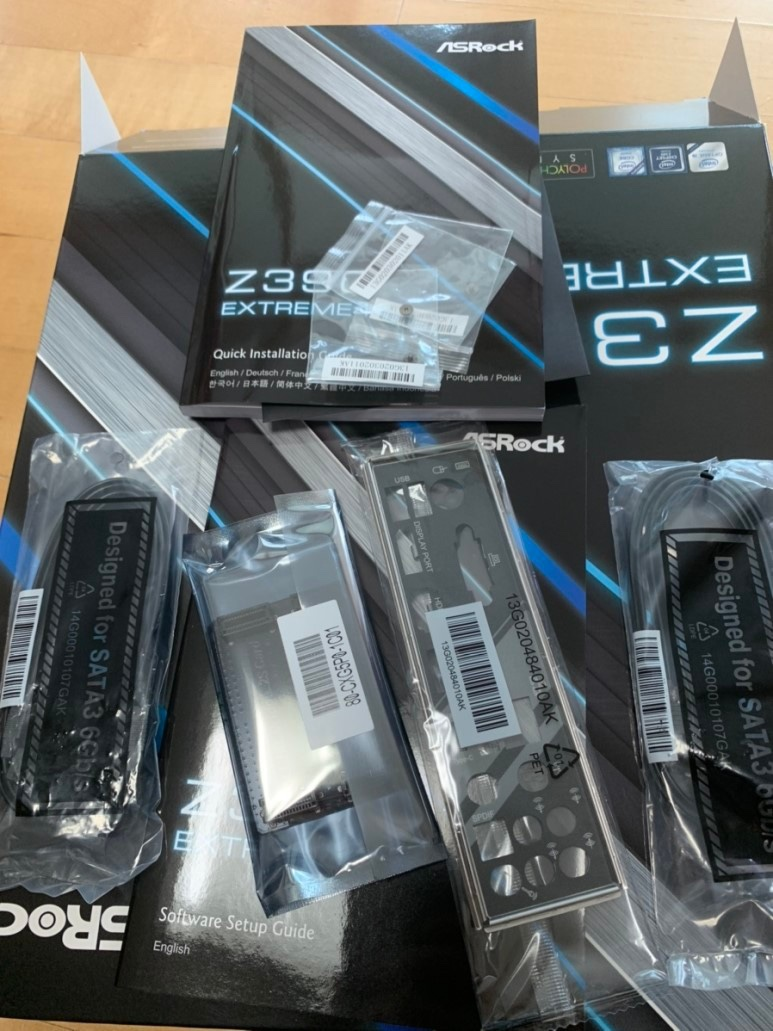
It comes with various screws, a 2-way SLI bridge, SATA cables, and an I/O shield.
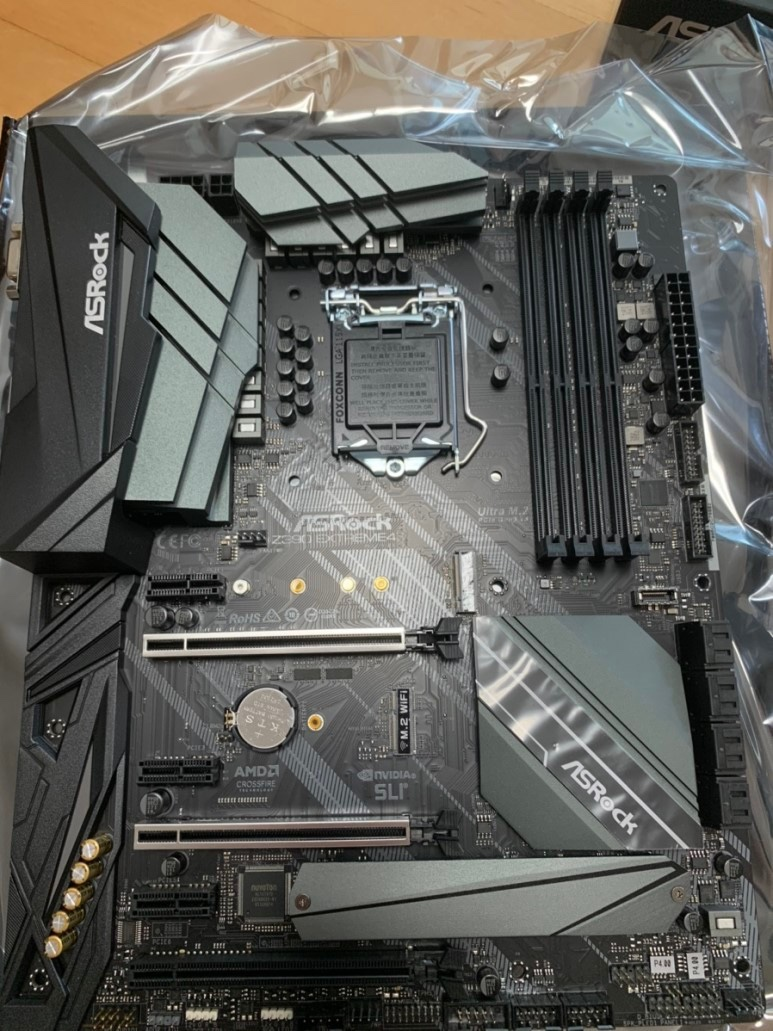
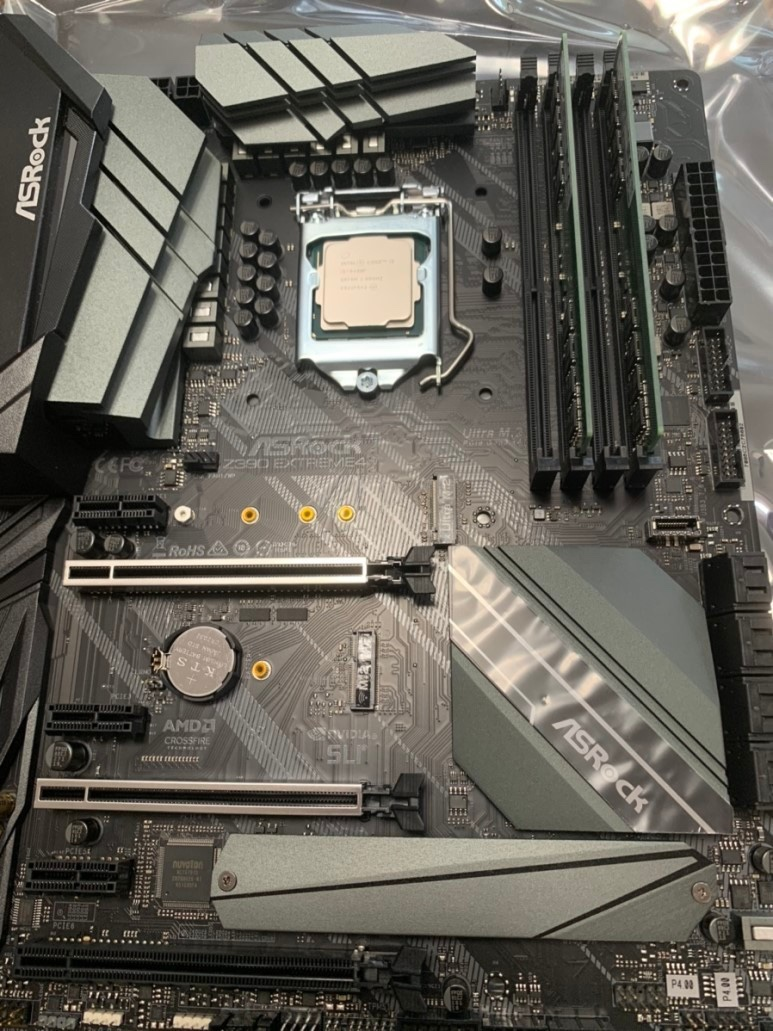
Full View of the Product
The motherboard has heatsinks on the top and sides, and while the number of power phases isn’t the highest, it’s more than adequate for practical use. It also includes an M.2 heatsink, making it a very well-rounded package for a budget model.
I just wish I had bought it from an open market; with a little extra money, I could have gotten the MSI Gaming Carbon instead. 😤
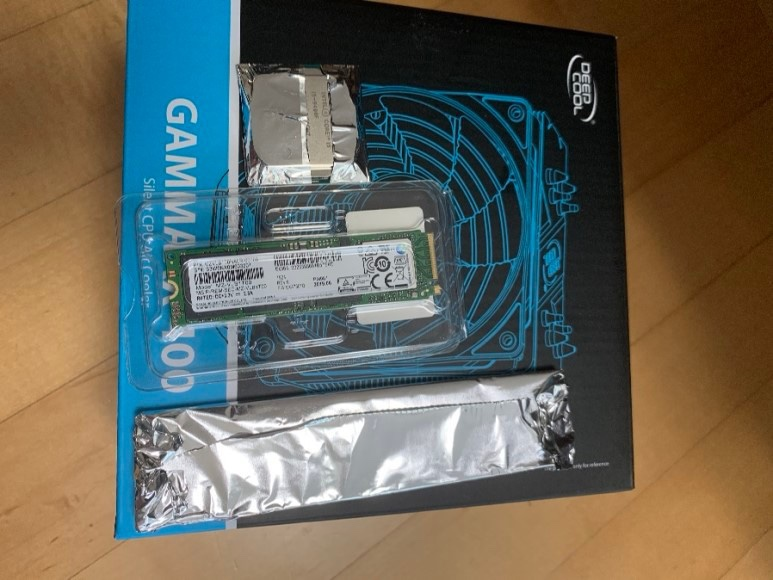
CPU, SSD, and RAM
I bought all of these components as bulk items to save money.
Despite being bulk, both the SSD and RAM are Samsung products.
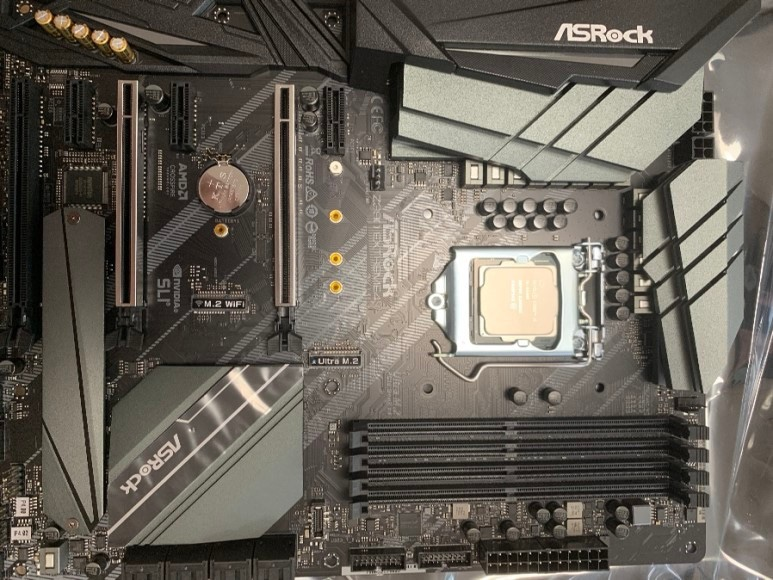
Oh, I don’t know if it’s a characteristic of the Extreme4 board, but everything fits very tightly.
The CPU latch was so tight that I thought the board might break when I lowered it. 😨

The beautiful form of the 9400F.
Engineers are truly amazing. It’s incredible how such a small component contains even smaller cores capable of handling so much work. 😲
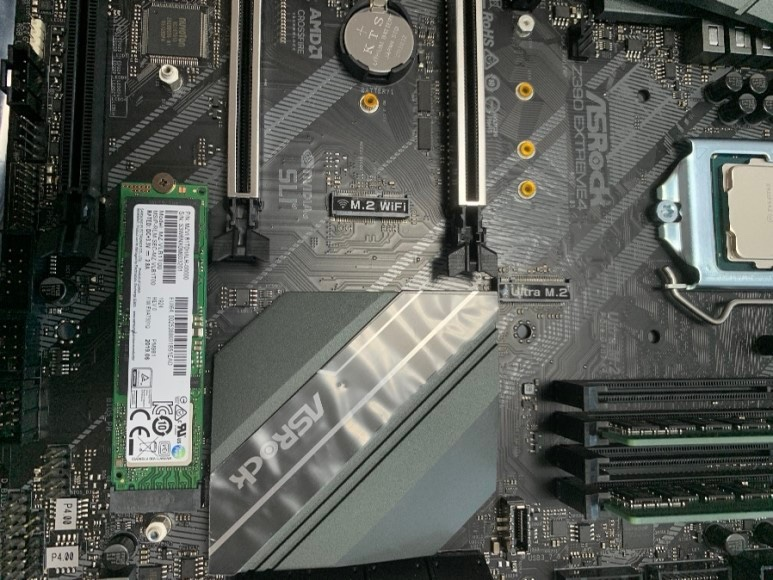
Installed the RAM and SSD!
The RAM slots were also really tight. If you’re assembling this model and the RAM doesn’t go in easily, don’t worry. Just make sure the latches are properly engaged and press firmly to seat the RAM correctly.
By the way, couldn’t Samsung just make the PCB black? It would look so much better.
Not that it matters, since Samsung products are always excellent regardless. 😂
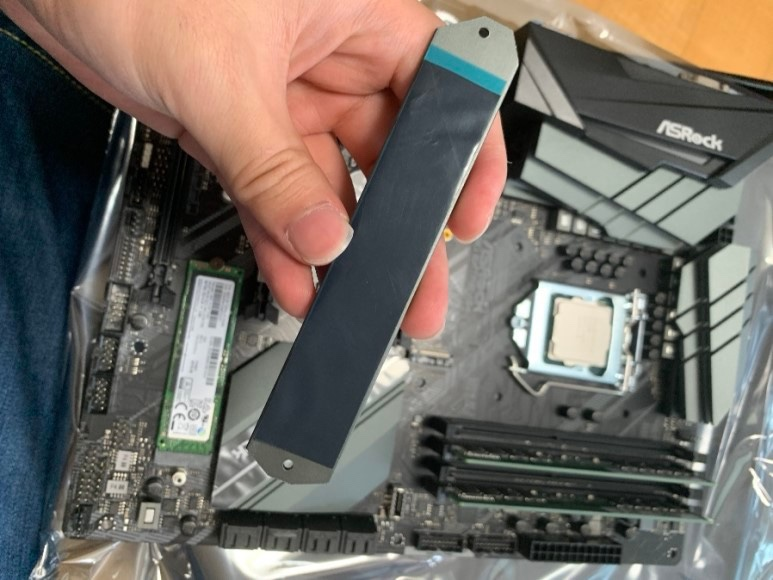
Remove the protective stickers from the thermal pads on the heatsinks.
Then, just place the heatsink on top.
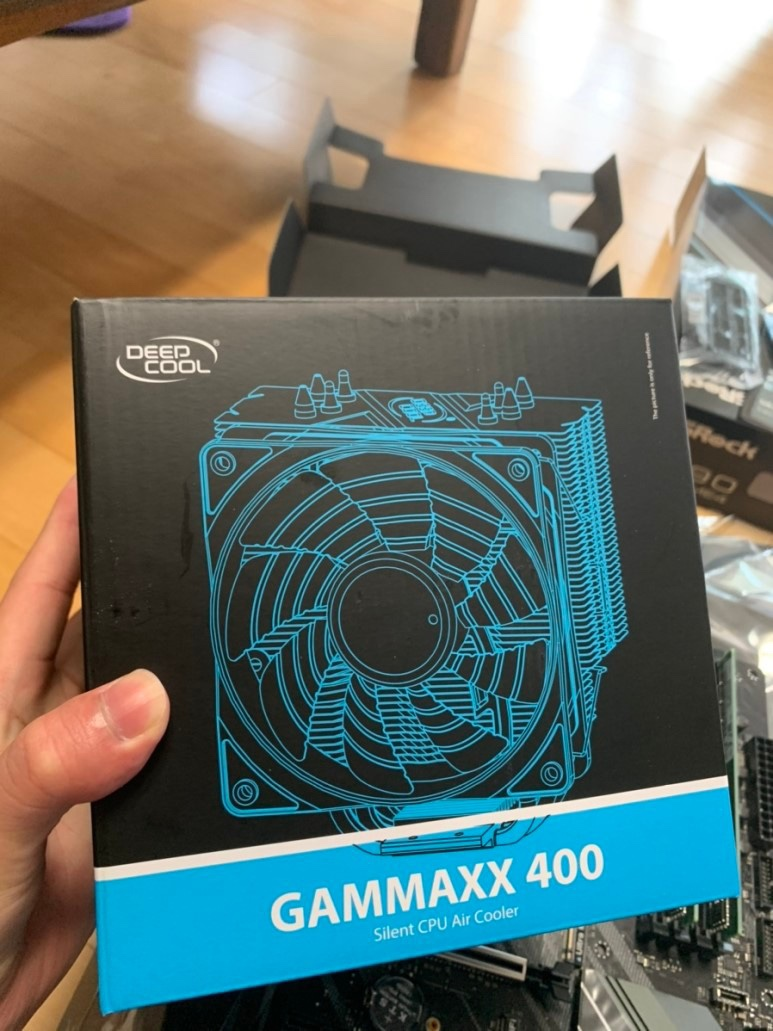
Next up is the renowned budget CPU cooler, “GAMMAXX”.
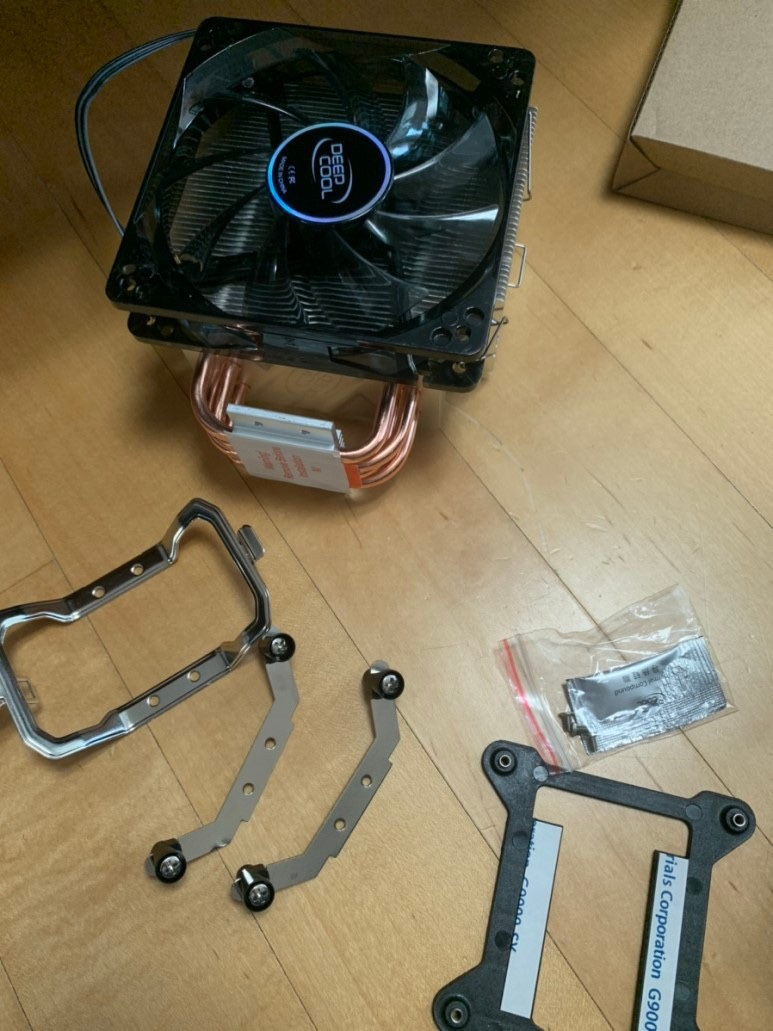
It comes with everything you need.
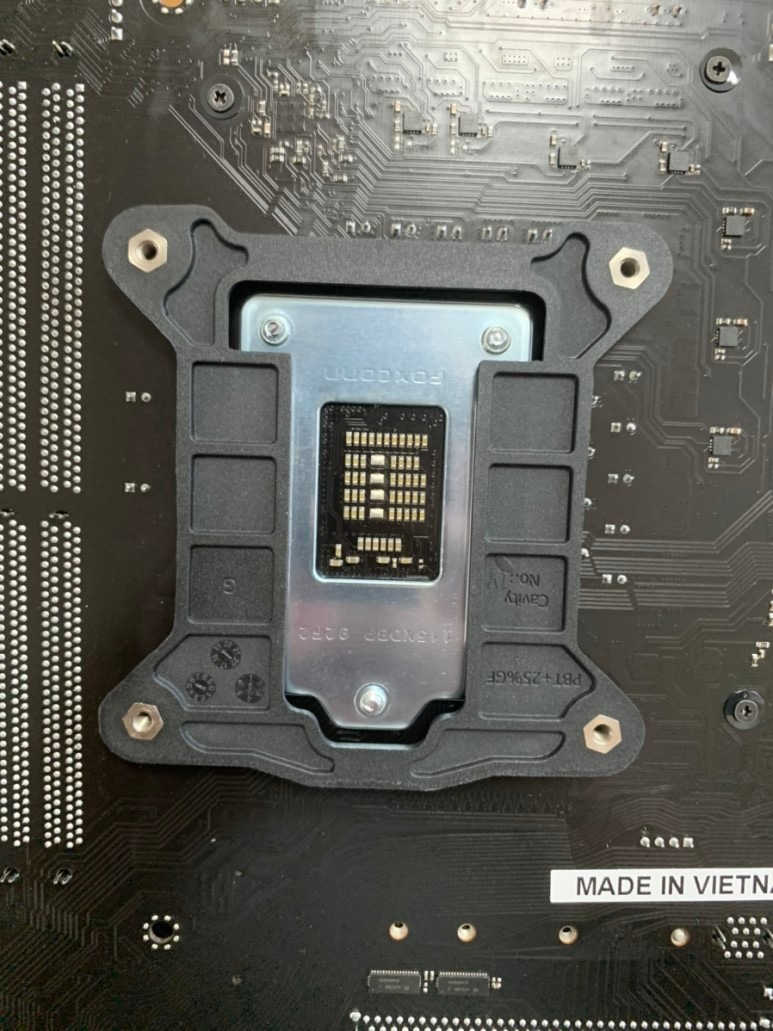
Attach the backplate to the backside of the motherboard.
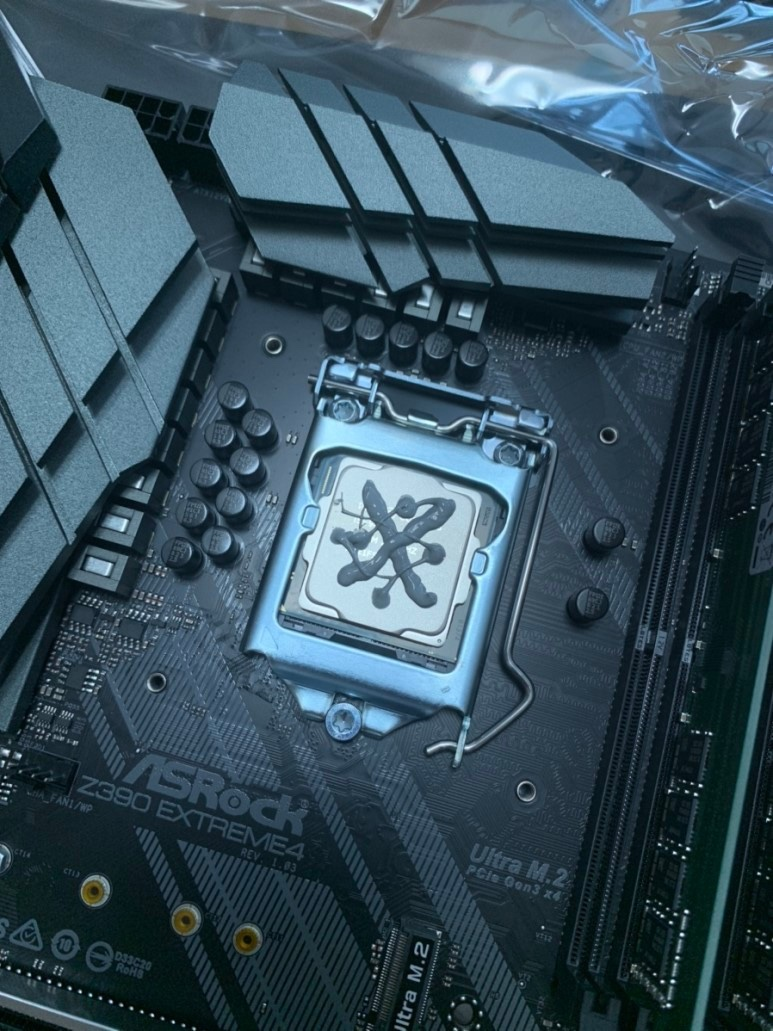
Apply the thermal paste.
By the way, I used way too much thermal paste. It was my first build, so I messed up the amount. 😢
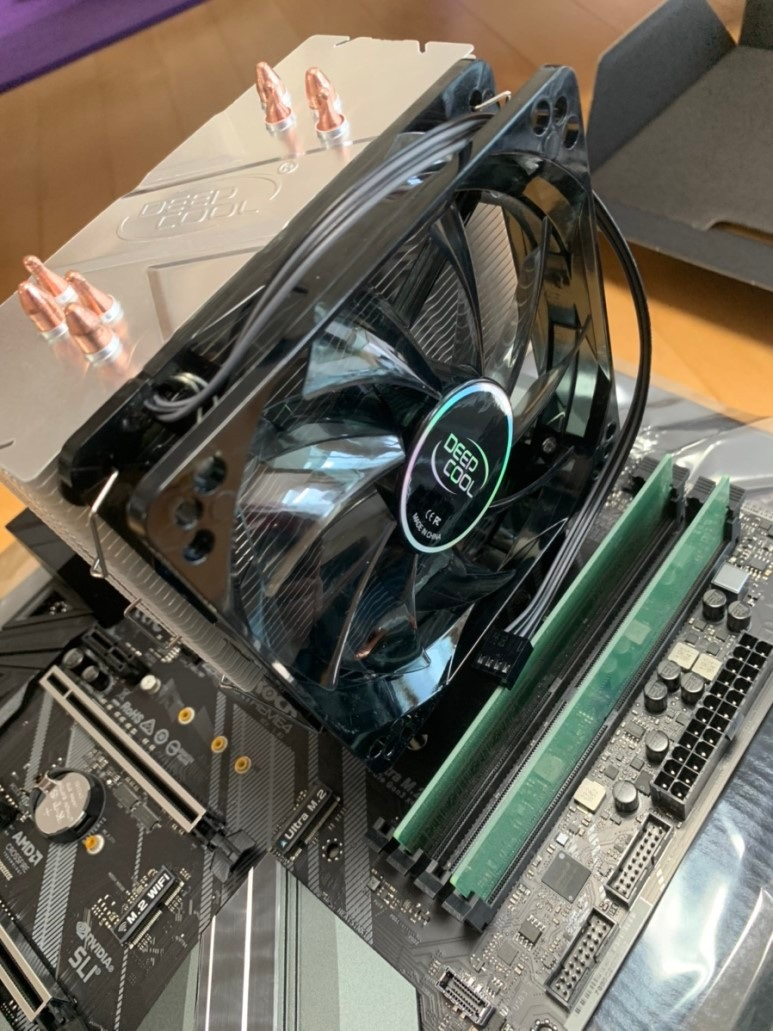
Attach the cooler to the motherboard!
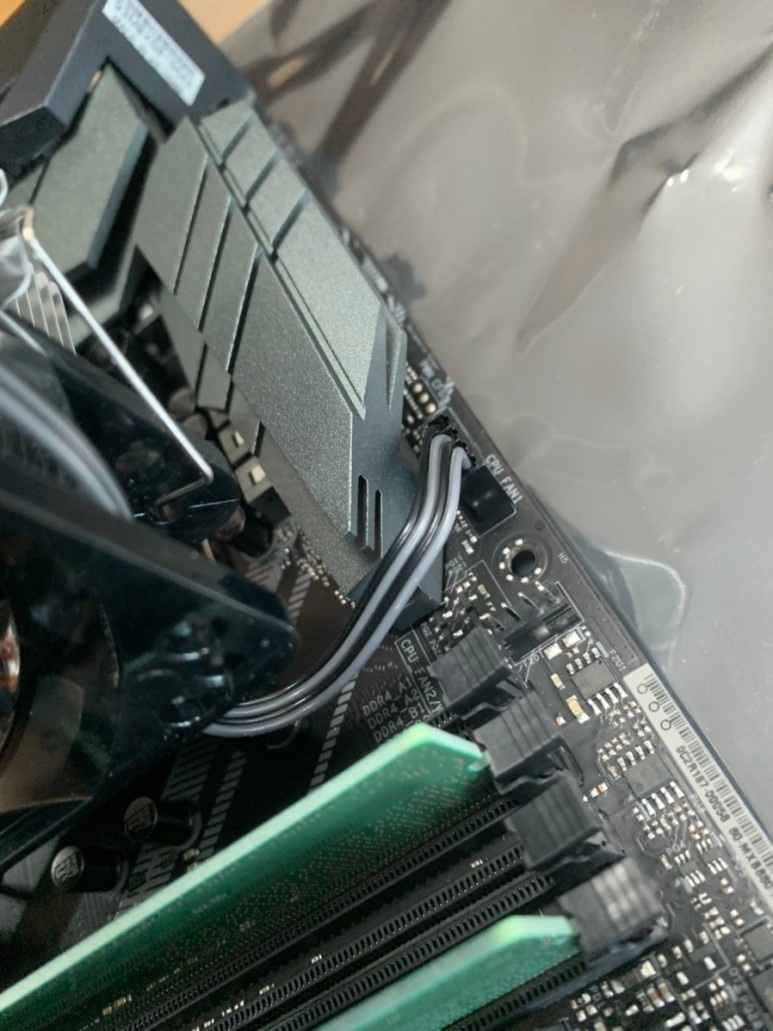
Connect the cooler fan cable to the CPU fan header on the motherboard like this.

Insert the I/O shield into the case.
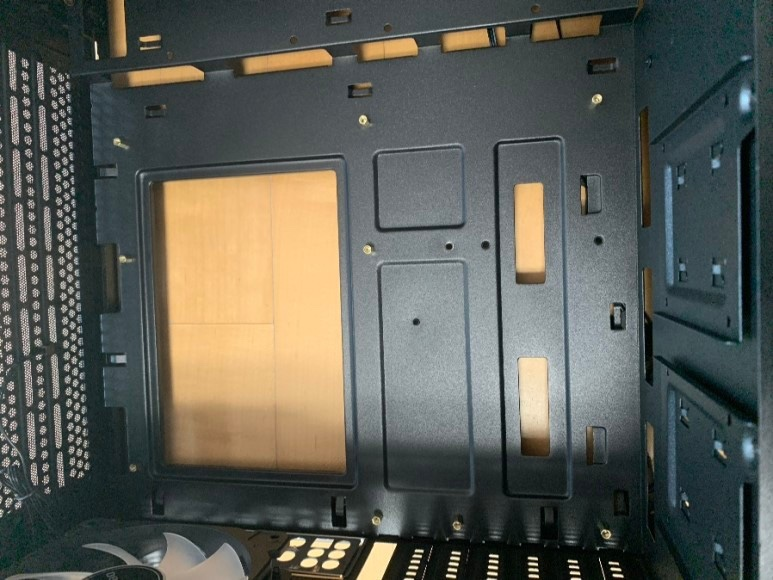
Install the motherboard standoffs into the case, ensuring the correct number and placement for your motherboard.
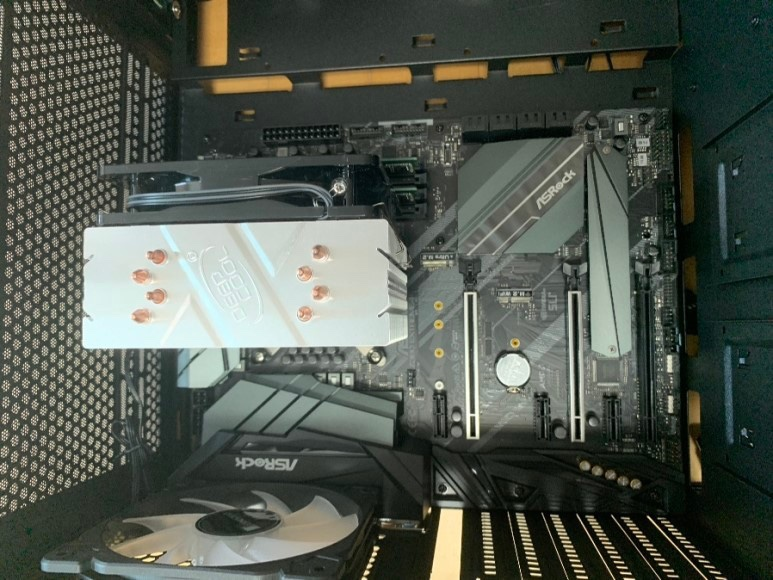
Gently place the motherboard into the case, aligning it with the standoffs and I/O shield.
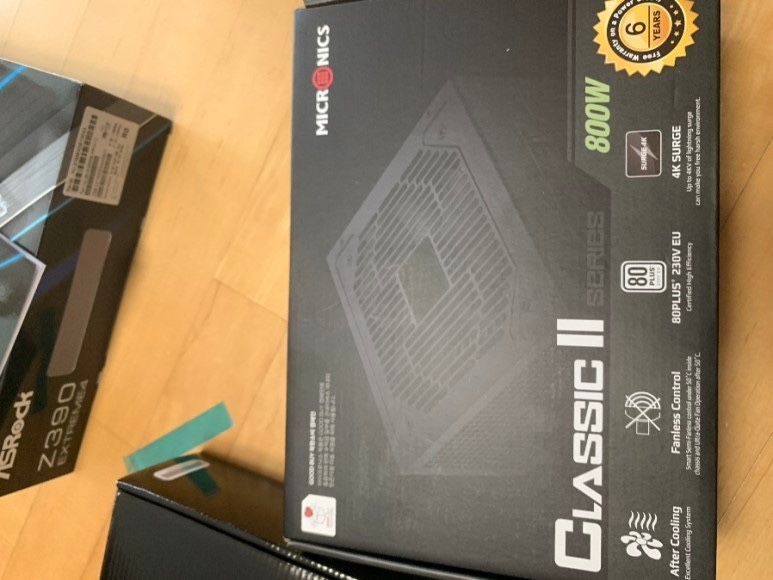
Next is the power supply unit (PSU).
I used the Micronics Classic II 800W 80Plus certified model.
Later, when I upgraded the CPU to a 9700K and overclocked it, I noticed coil whine and thought, “This is so annoying 😠.” I tried a few other bronze-certified products, but some had even worse coil whine. Considering that, this PSU is quite reasonably priced, doesn’t generate much heat, and is overall a decent choice.
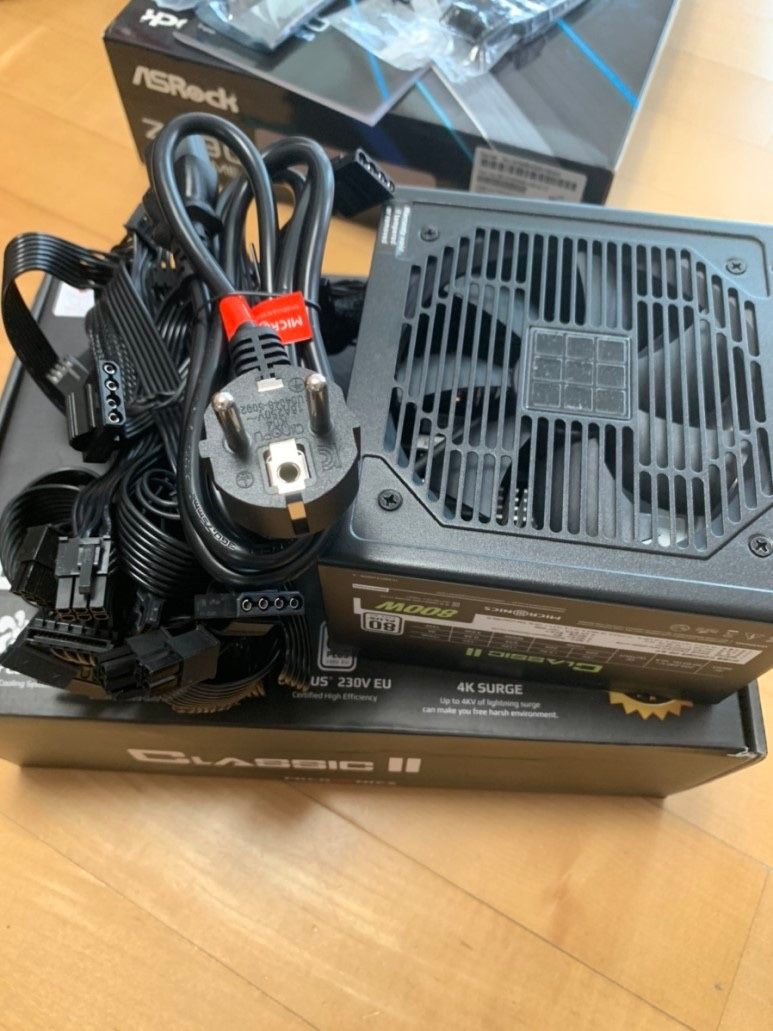
Ah, in the old days, power supply cables used to be all colorful and unsightly. Nowadays, they’re all uniformly black, which looks much cleaner.
As long as you don’t mix up the cables and force the motherboard 4-8 pin cable into the graphics card 6-8 pin port or vice versa, there shouldn’t be any issues since the connectors are different shapes.
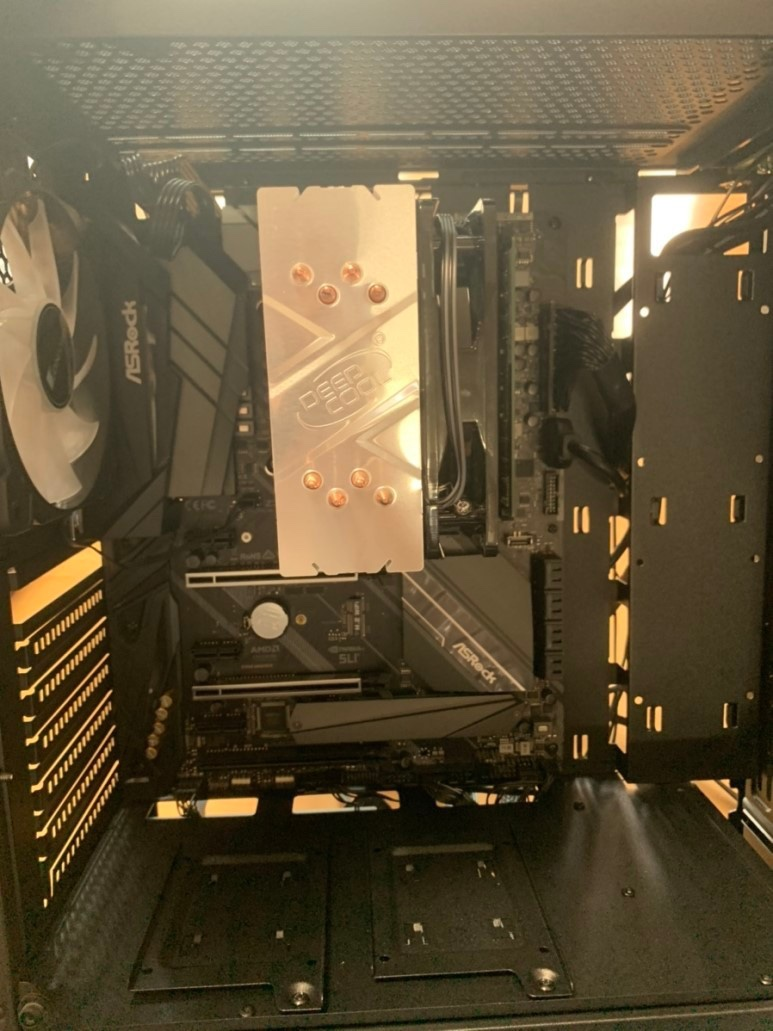
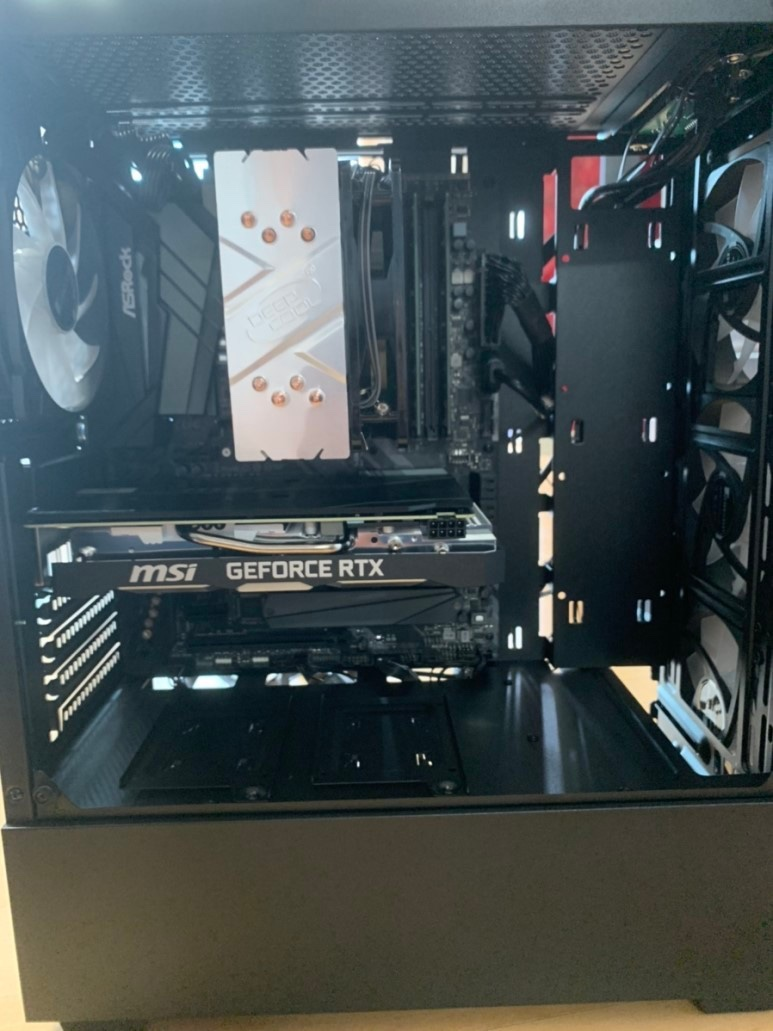
Here’s how it looks after installing the power supply and finishing the cable management.
Didn’t I do an amazing job with the cable management? 😂
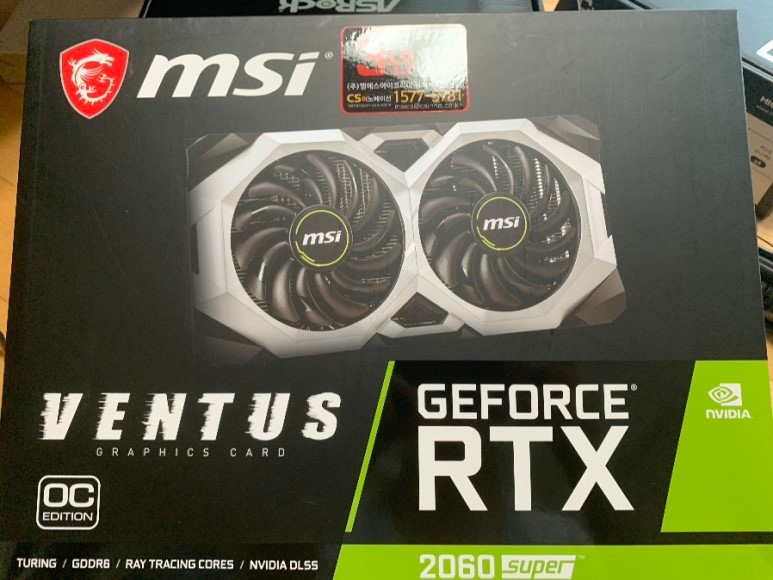
Finally, the most important component in a gaming computer: the graphics card!
The Ventus line… It’s really affordable and high quality, but the fan noise is unbearable.
It’s worth spending a bit more for a higher-end model like the Twin Frozr for peace of mind.
Oh, and if I had bought the graphics card from an open market, I could have gotten a Twin Frozr for the same price. 😂😭
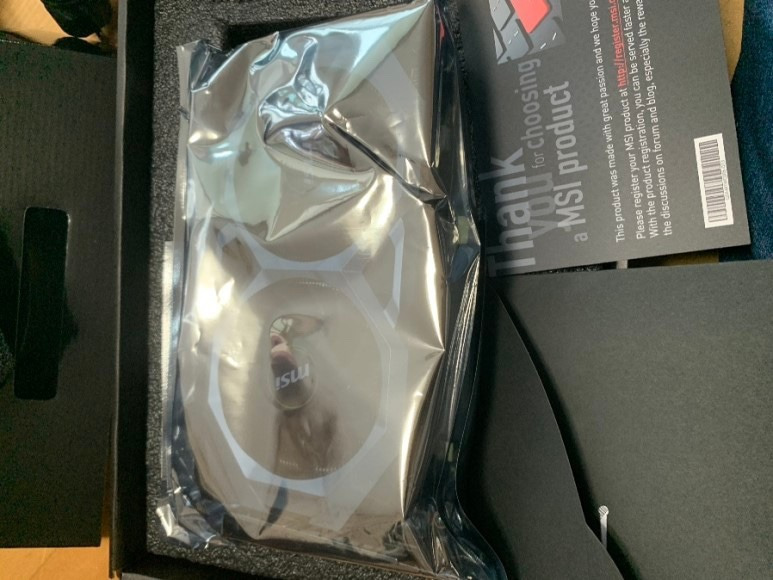
Packaged with environmental pollutants like Styrofoam, and even wrapped in plastic for extra measure.
I never asked for you, #Styrofoam #Plastic
Ryu Jun-yeol would have been extremely angry if he saw this.
Just plug it in.
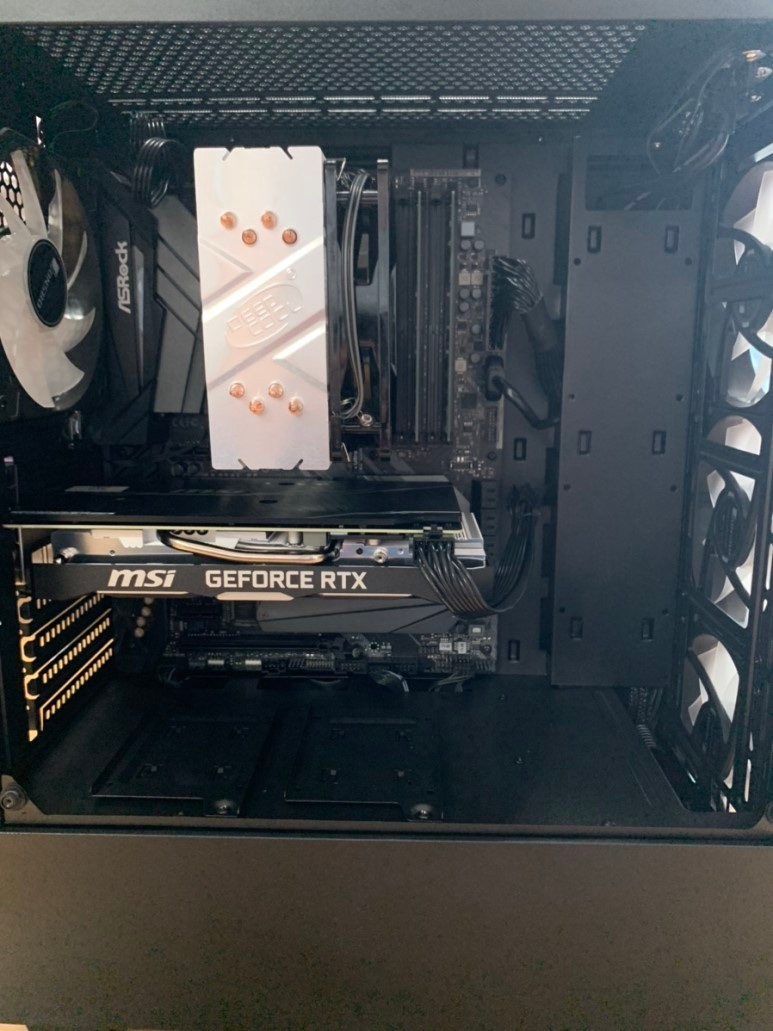
Plug in the cables.
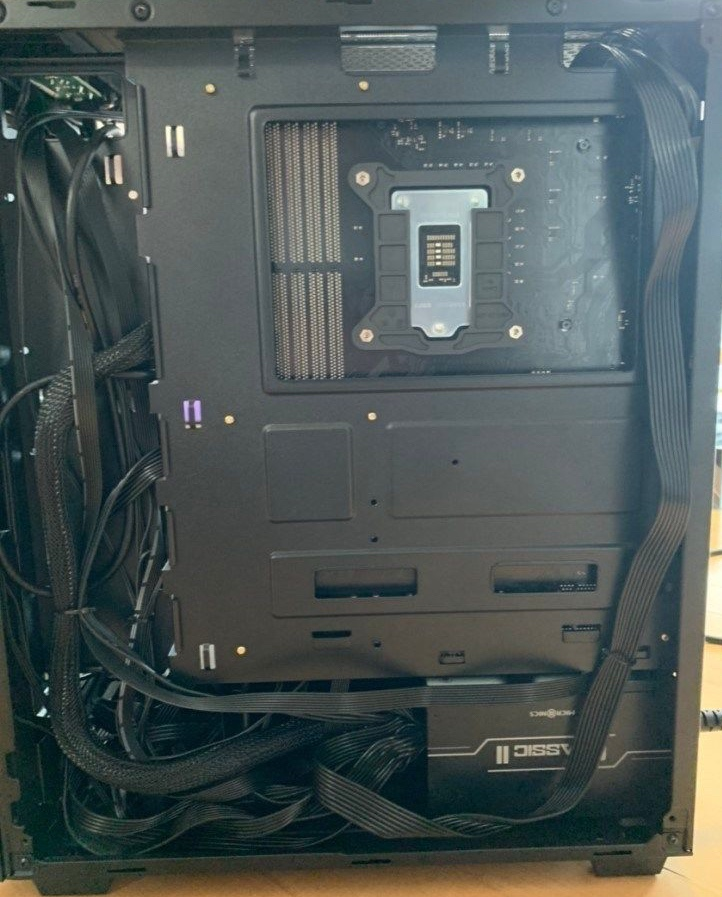
Once you’ve finished the cable management at the back, you’re all done.
I have to say it again—I’m really good at cable management! 😂
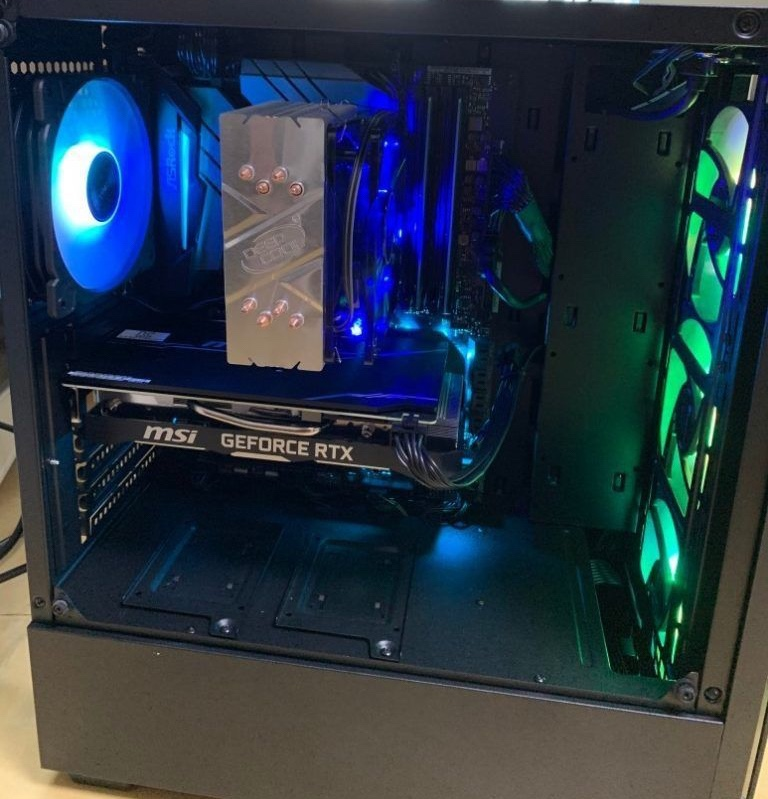
Here’s the final look with the power on.
Wow, it’s magnificent.
I didn’t include a photo with the tempered glass cover on because of the reflections, but you can imagine how great it looks!