The server currently running this blog is made from a used J1900 extracted from a TAOBAO NAS, which I purchased second-hand and placed in a Samsung desktop case I had at home.
However, it didn’t look good aesthetically, and I really wanted the hard drive hot-swap feature that is characteristic of a NAS. So, I set up keyword alerts on a second-hand marketplace and patiently waited for a few weeks.
Eventually, the perfect listing appeared, and I bought it without hesitation.
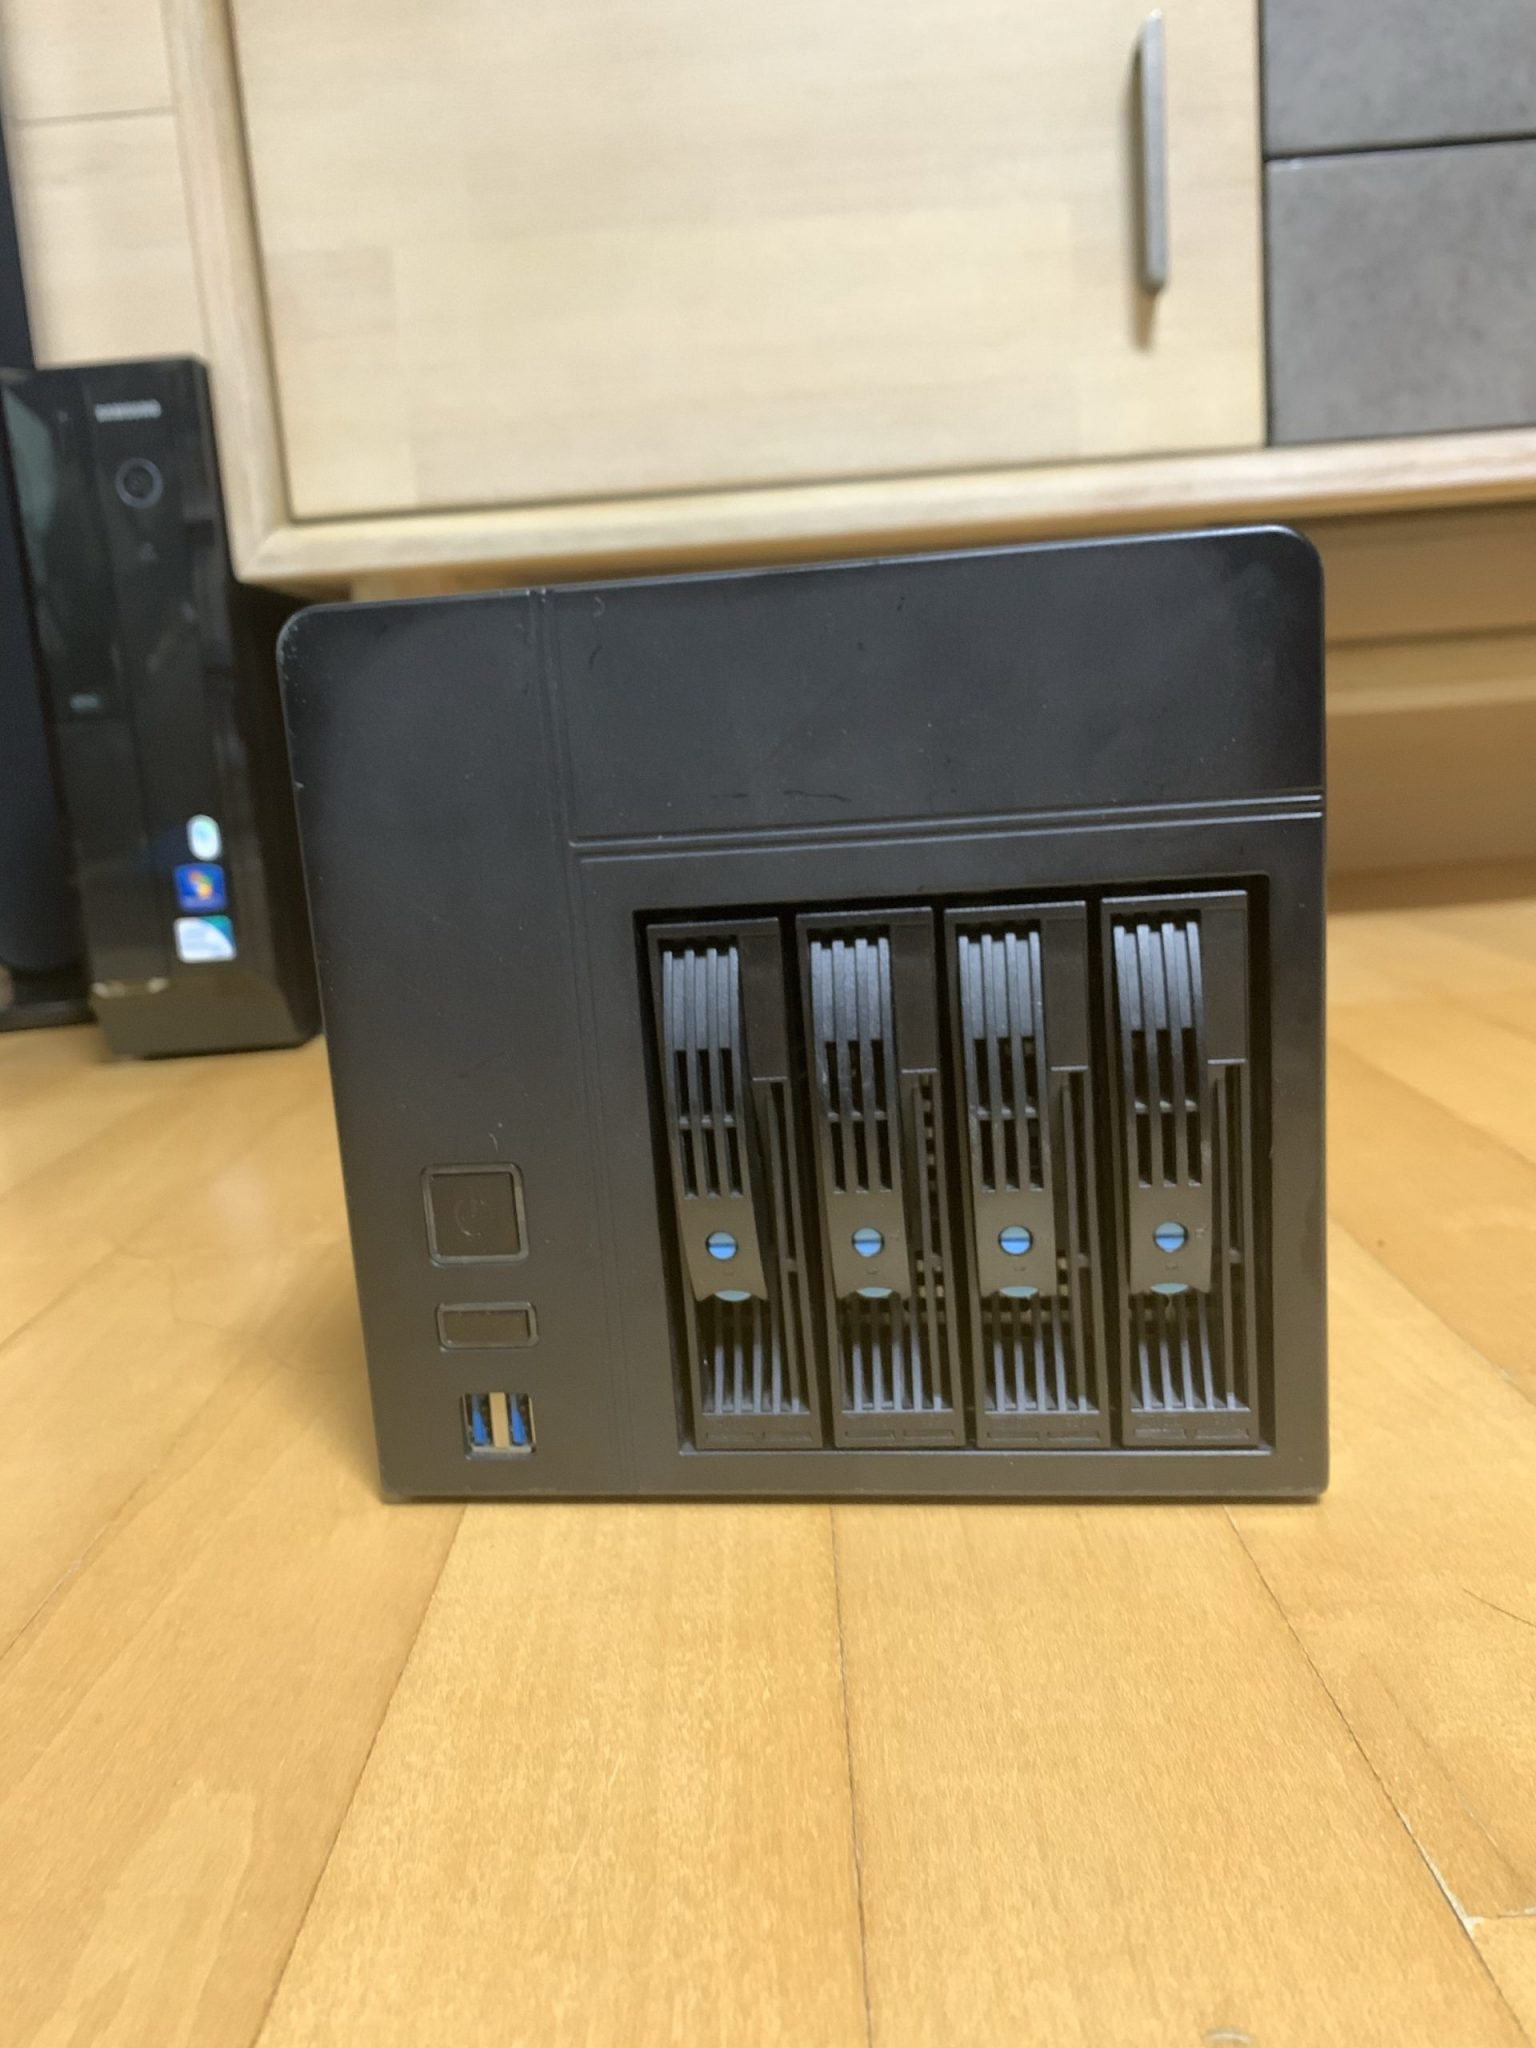
The case has arrived.
Wow, I can’t get over how beautiful the four hot-swap bays are.
The unit you see in the background is what was previously used as the server.
I love how compact it is.
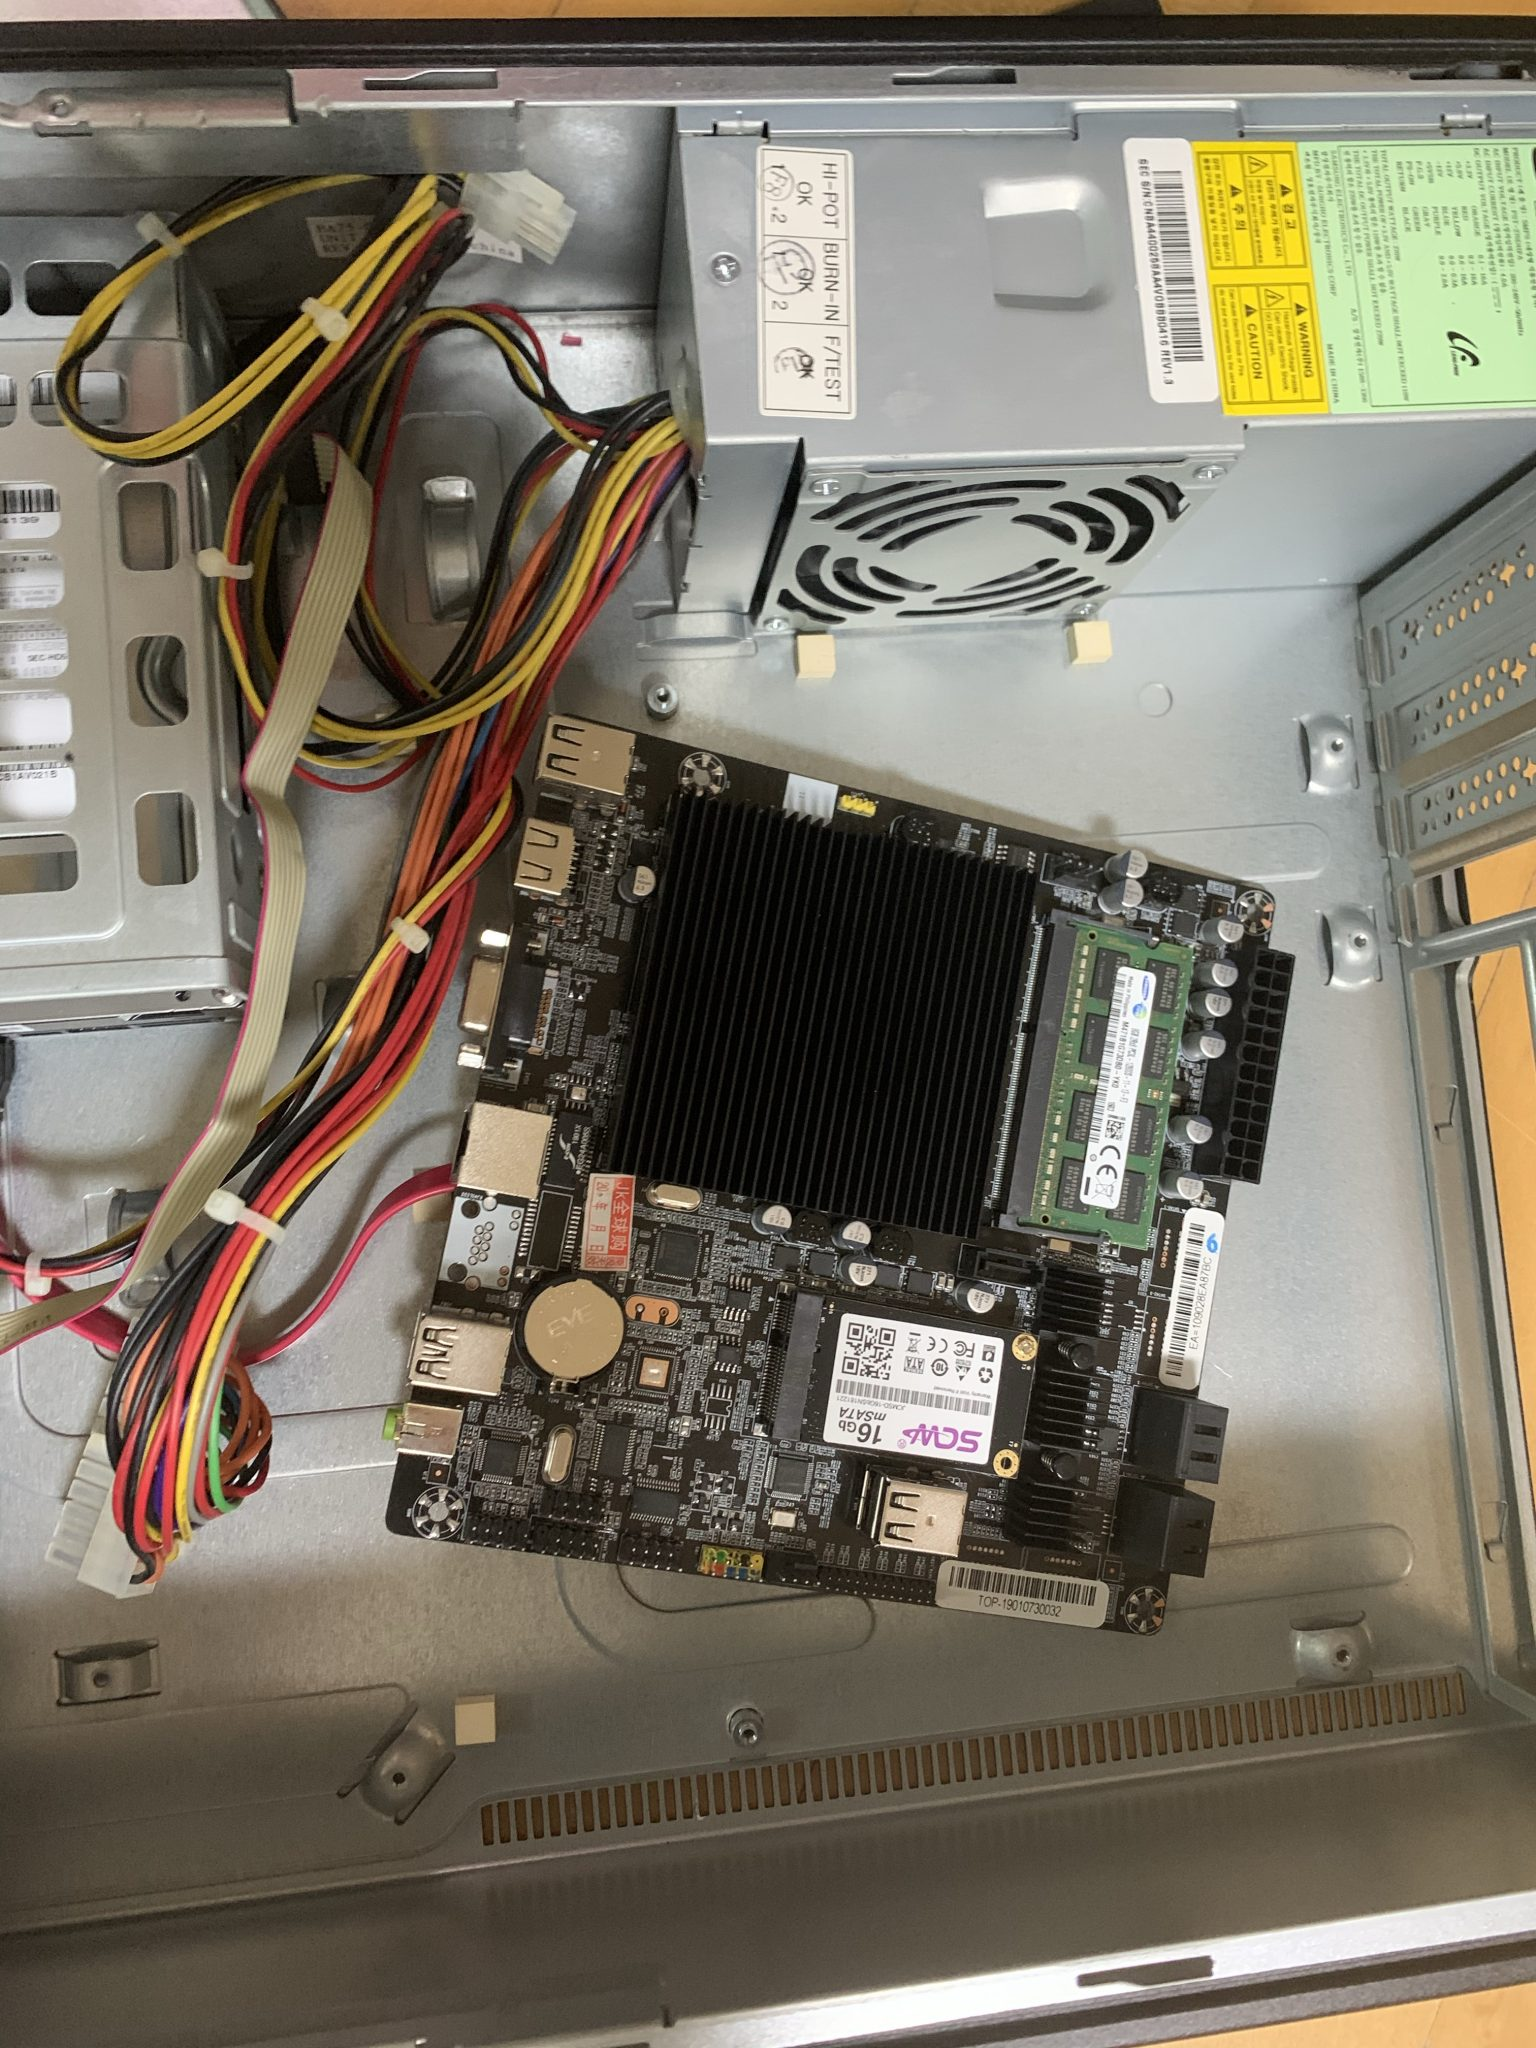
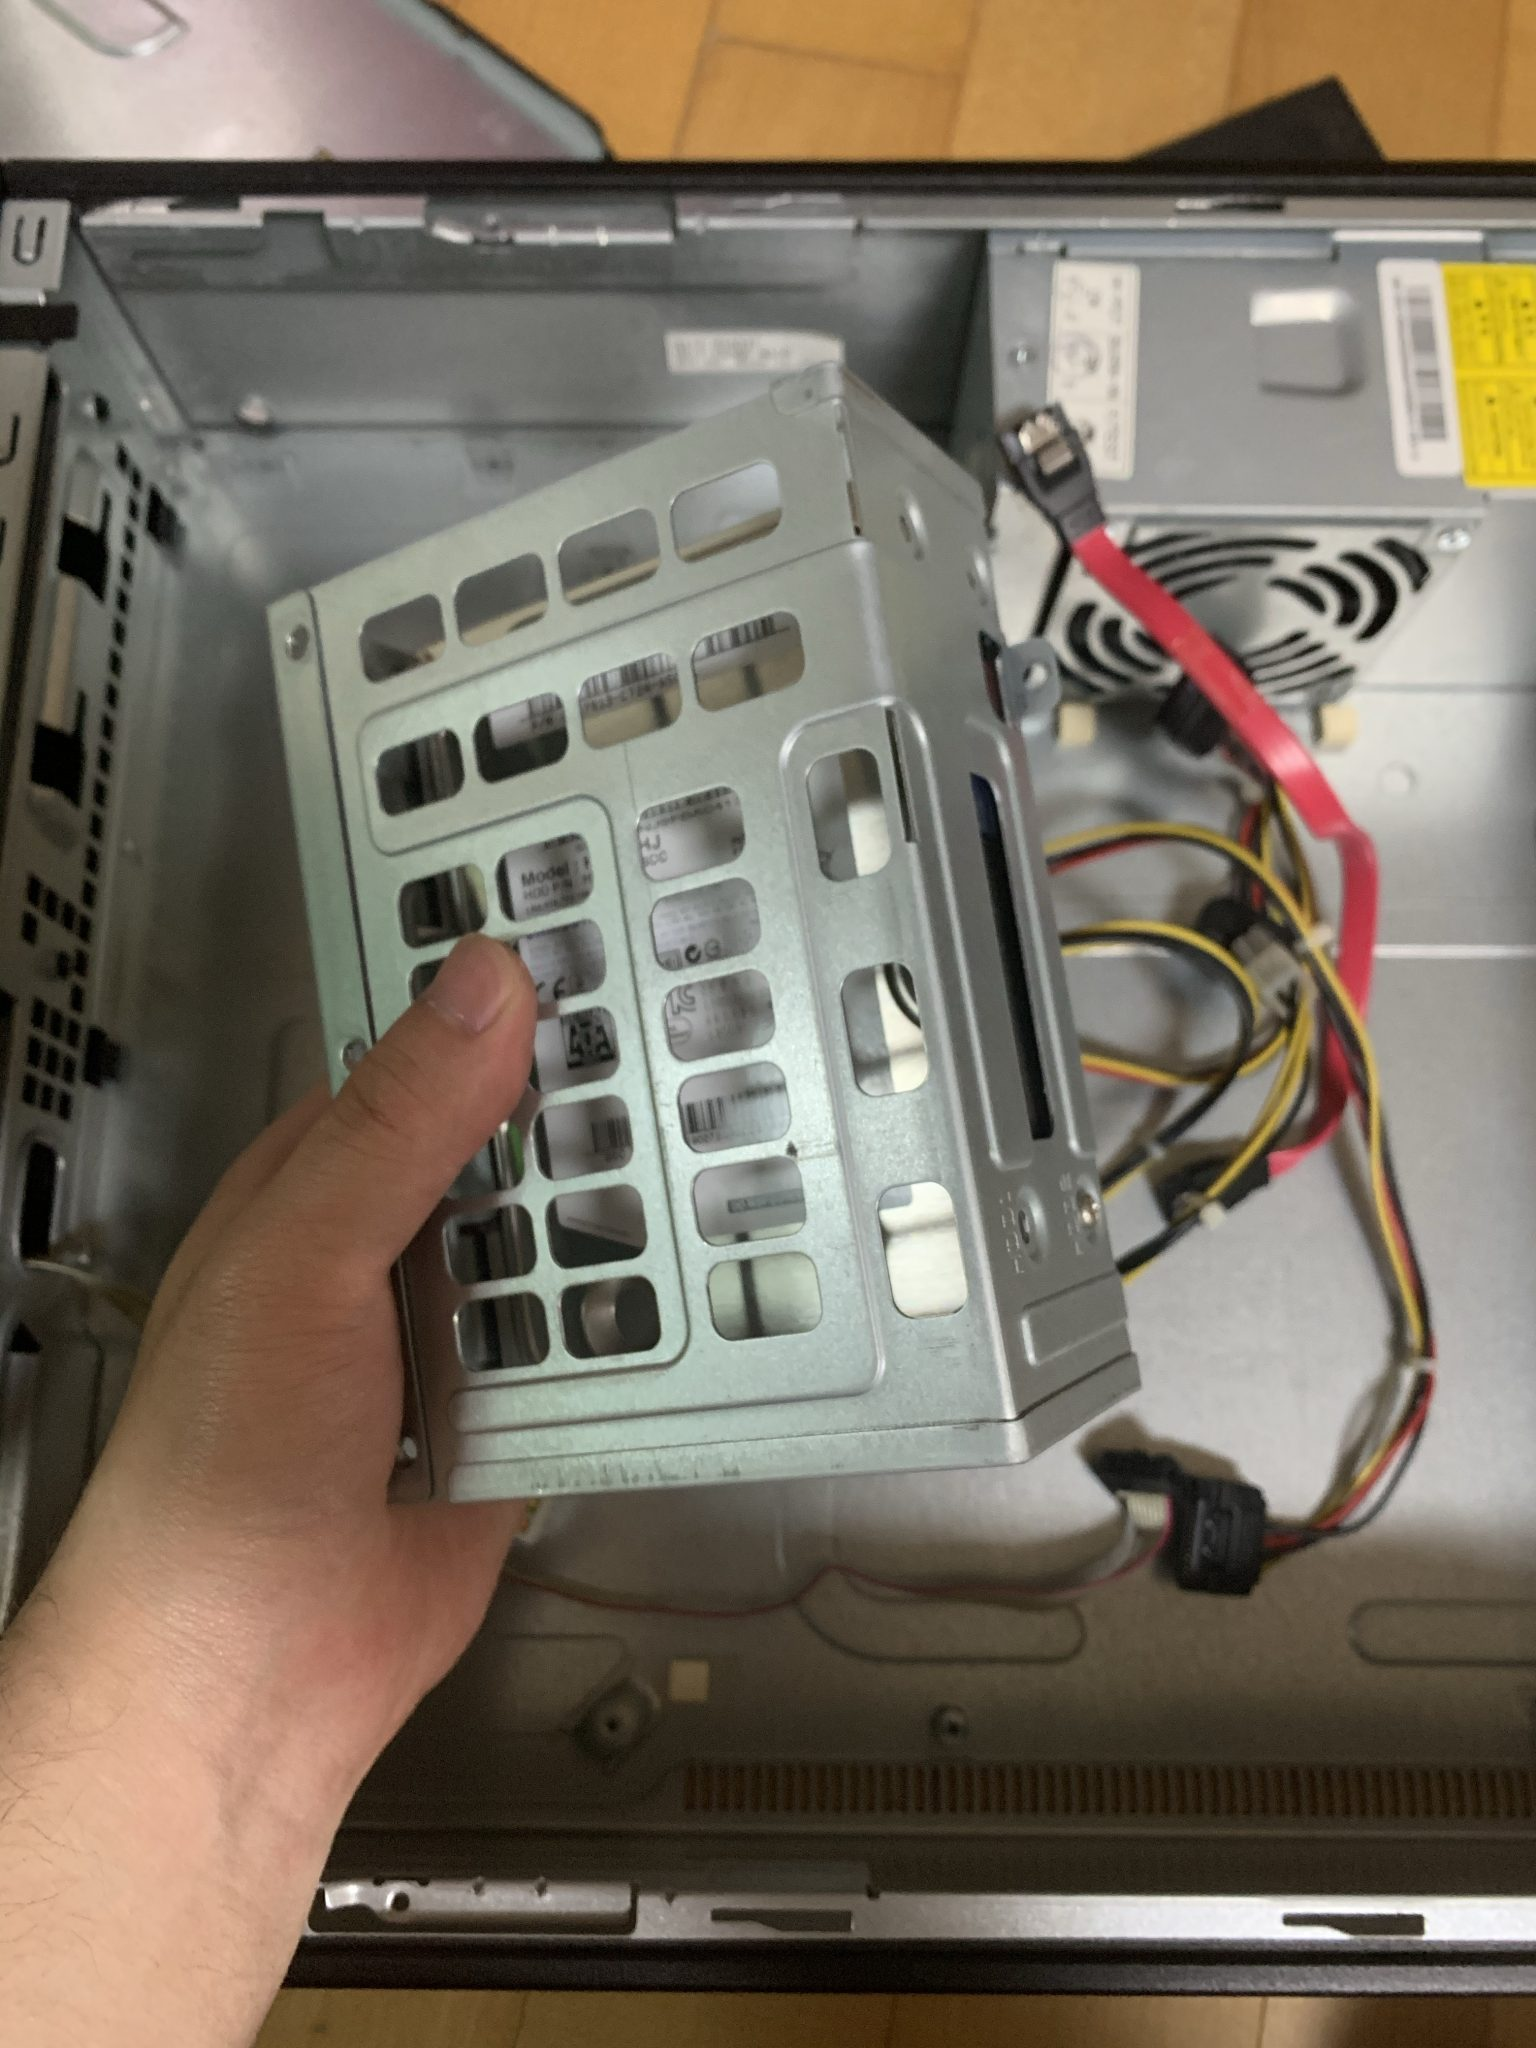
I removed the J1900 from the previous case.
I transferred it to the newly purchased case.
Since this J1900 was originally extracted from a TAOBAO NAS product, it has finally been reunited with its original body.

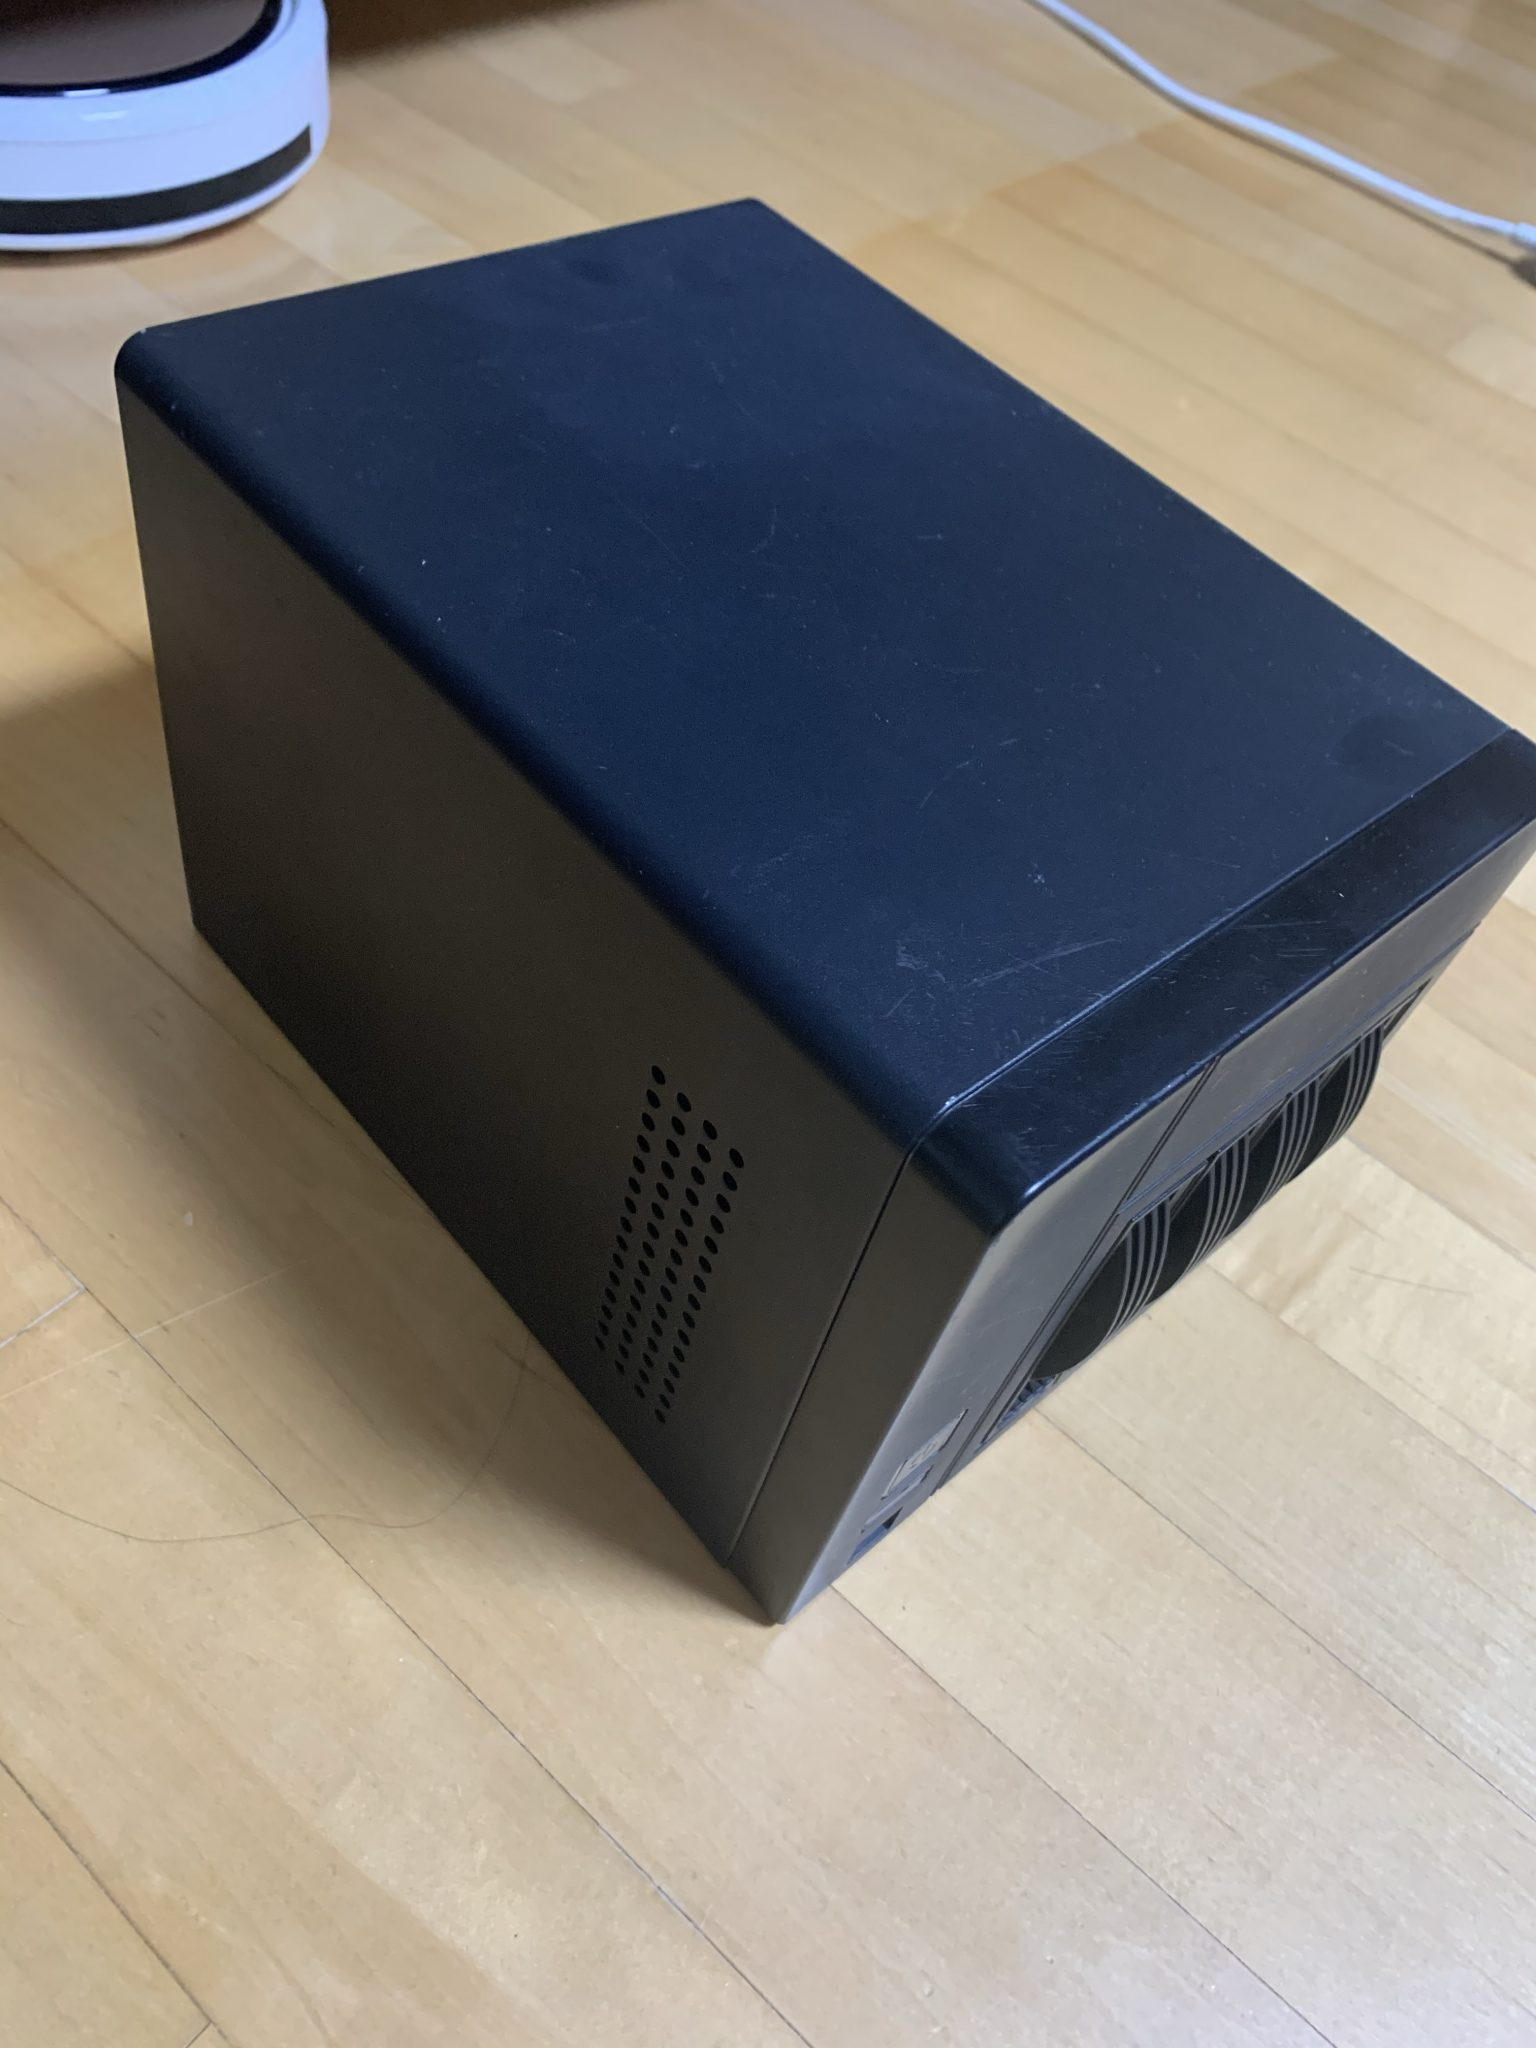
I put the cover back on.
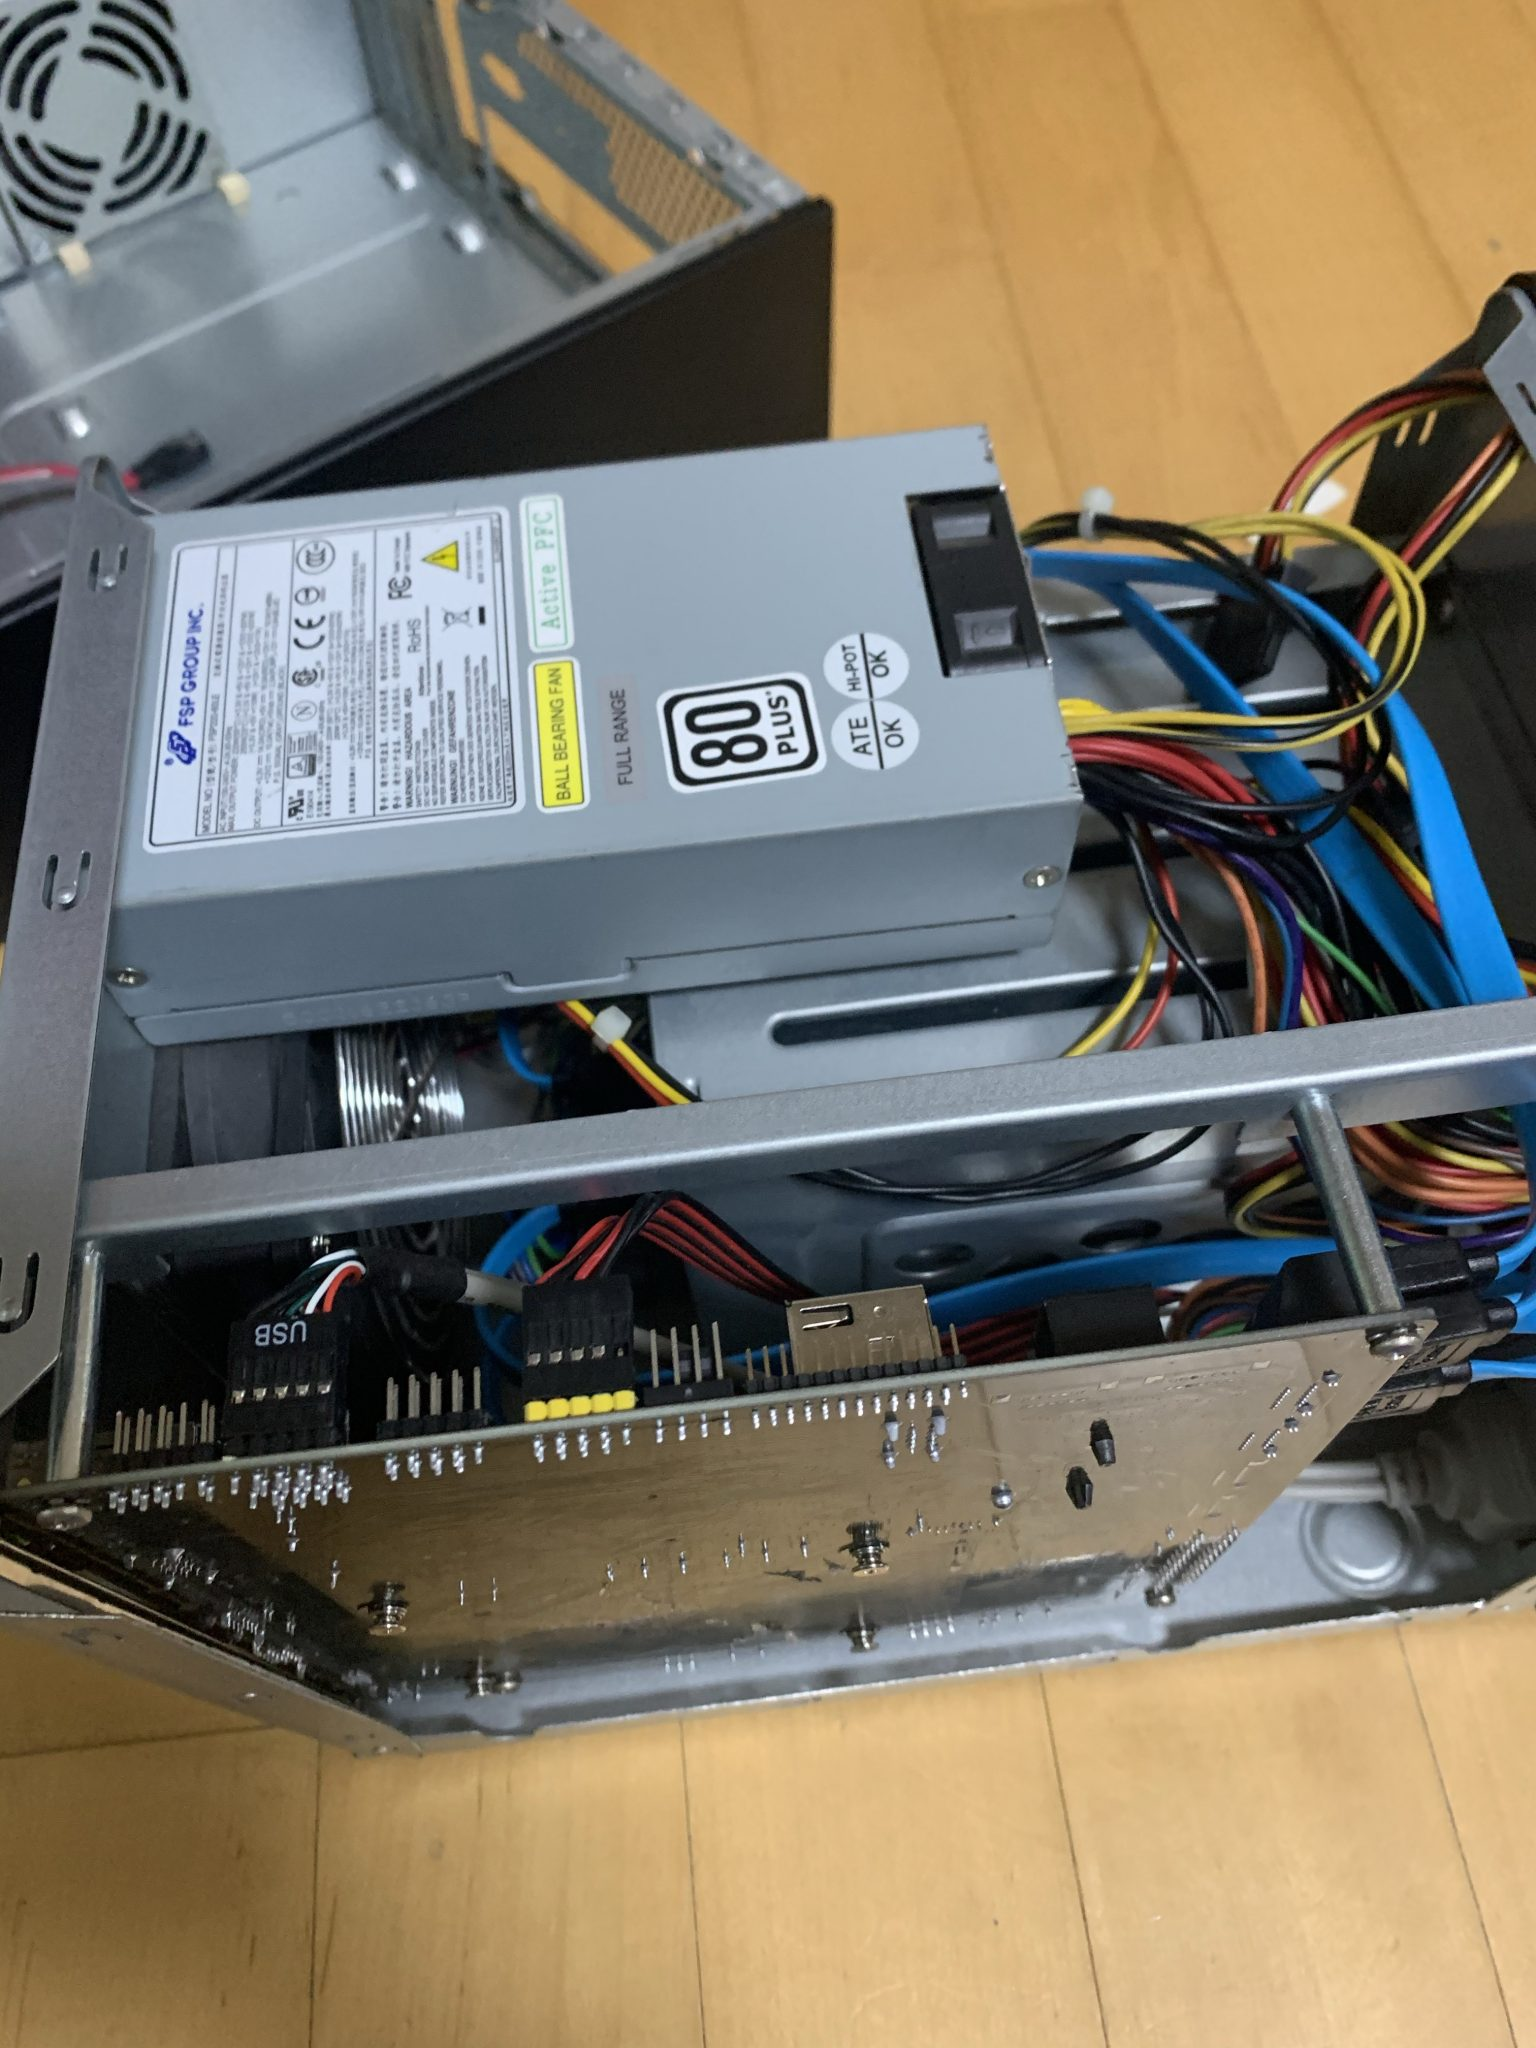
I also removed the hard drives from the previous case.
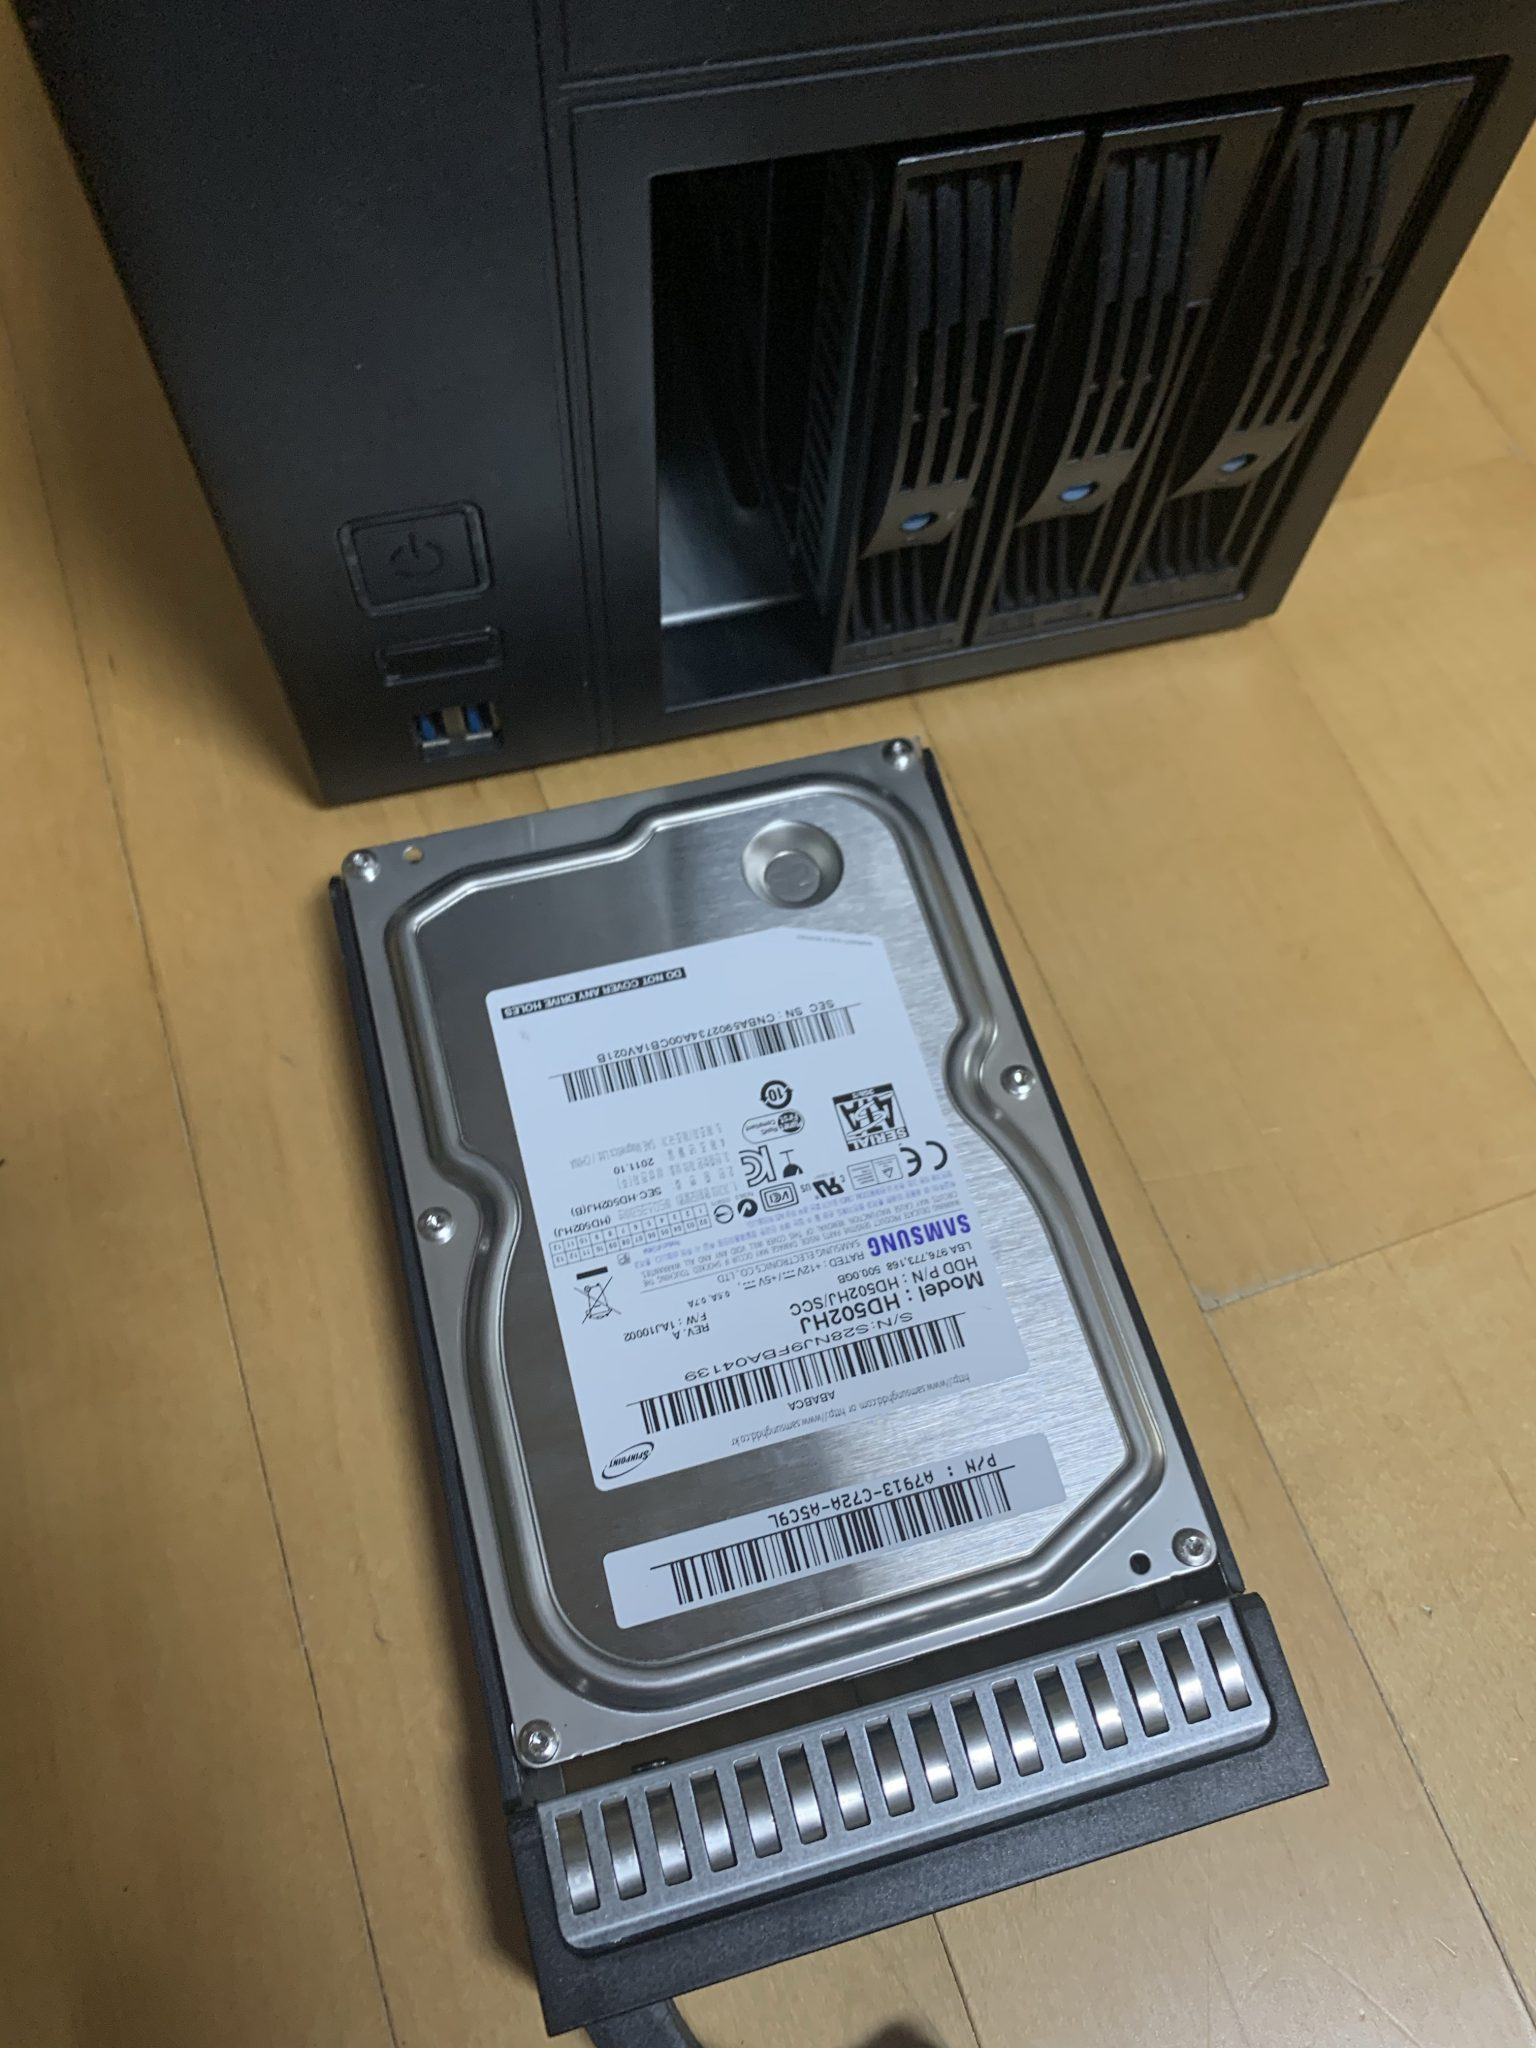
Then, I just need to install them into the hot-swap bays.
It’s so neat and simple, just slide them in and click them into place.
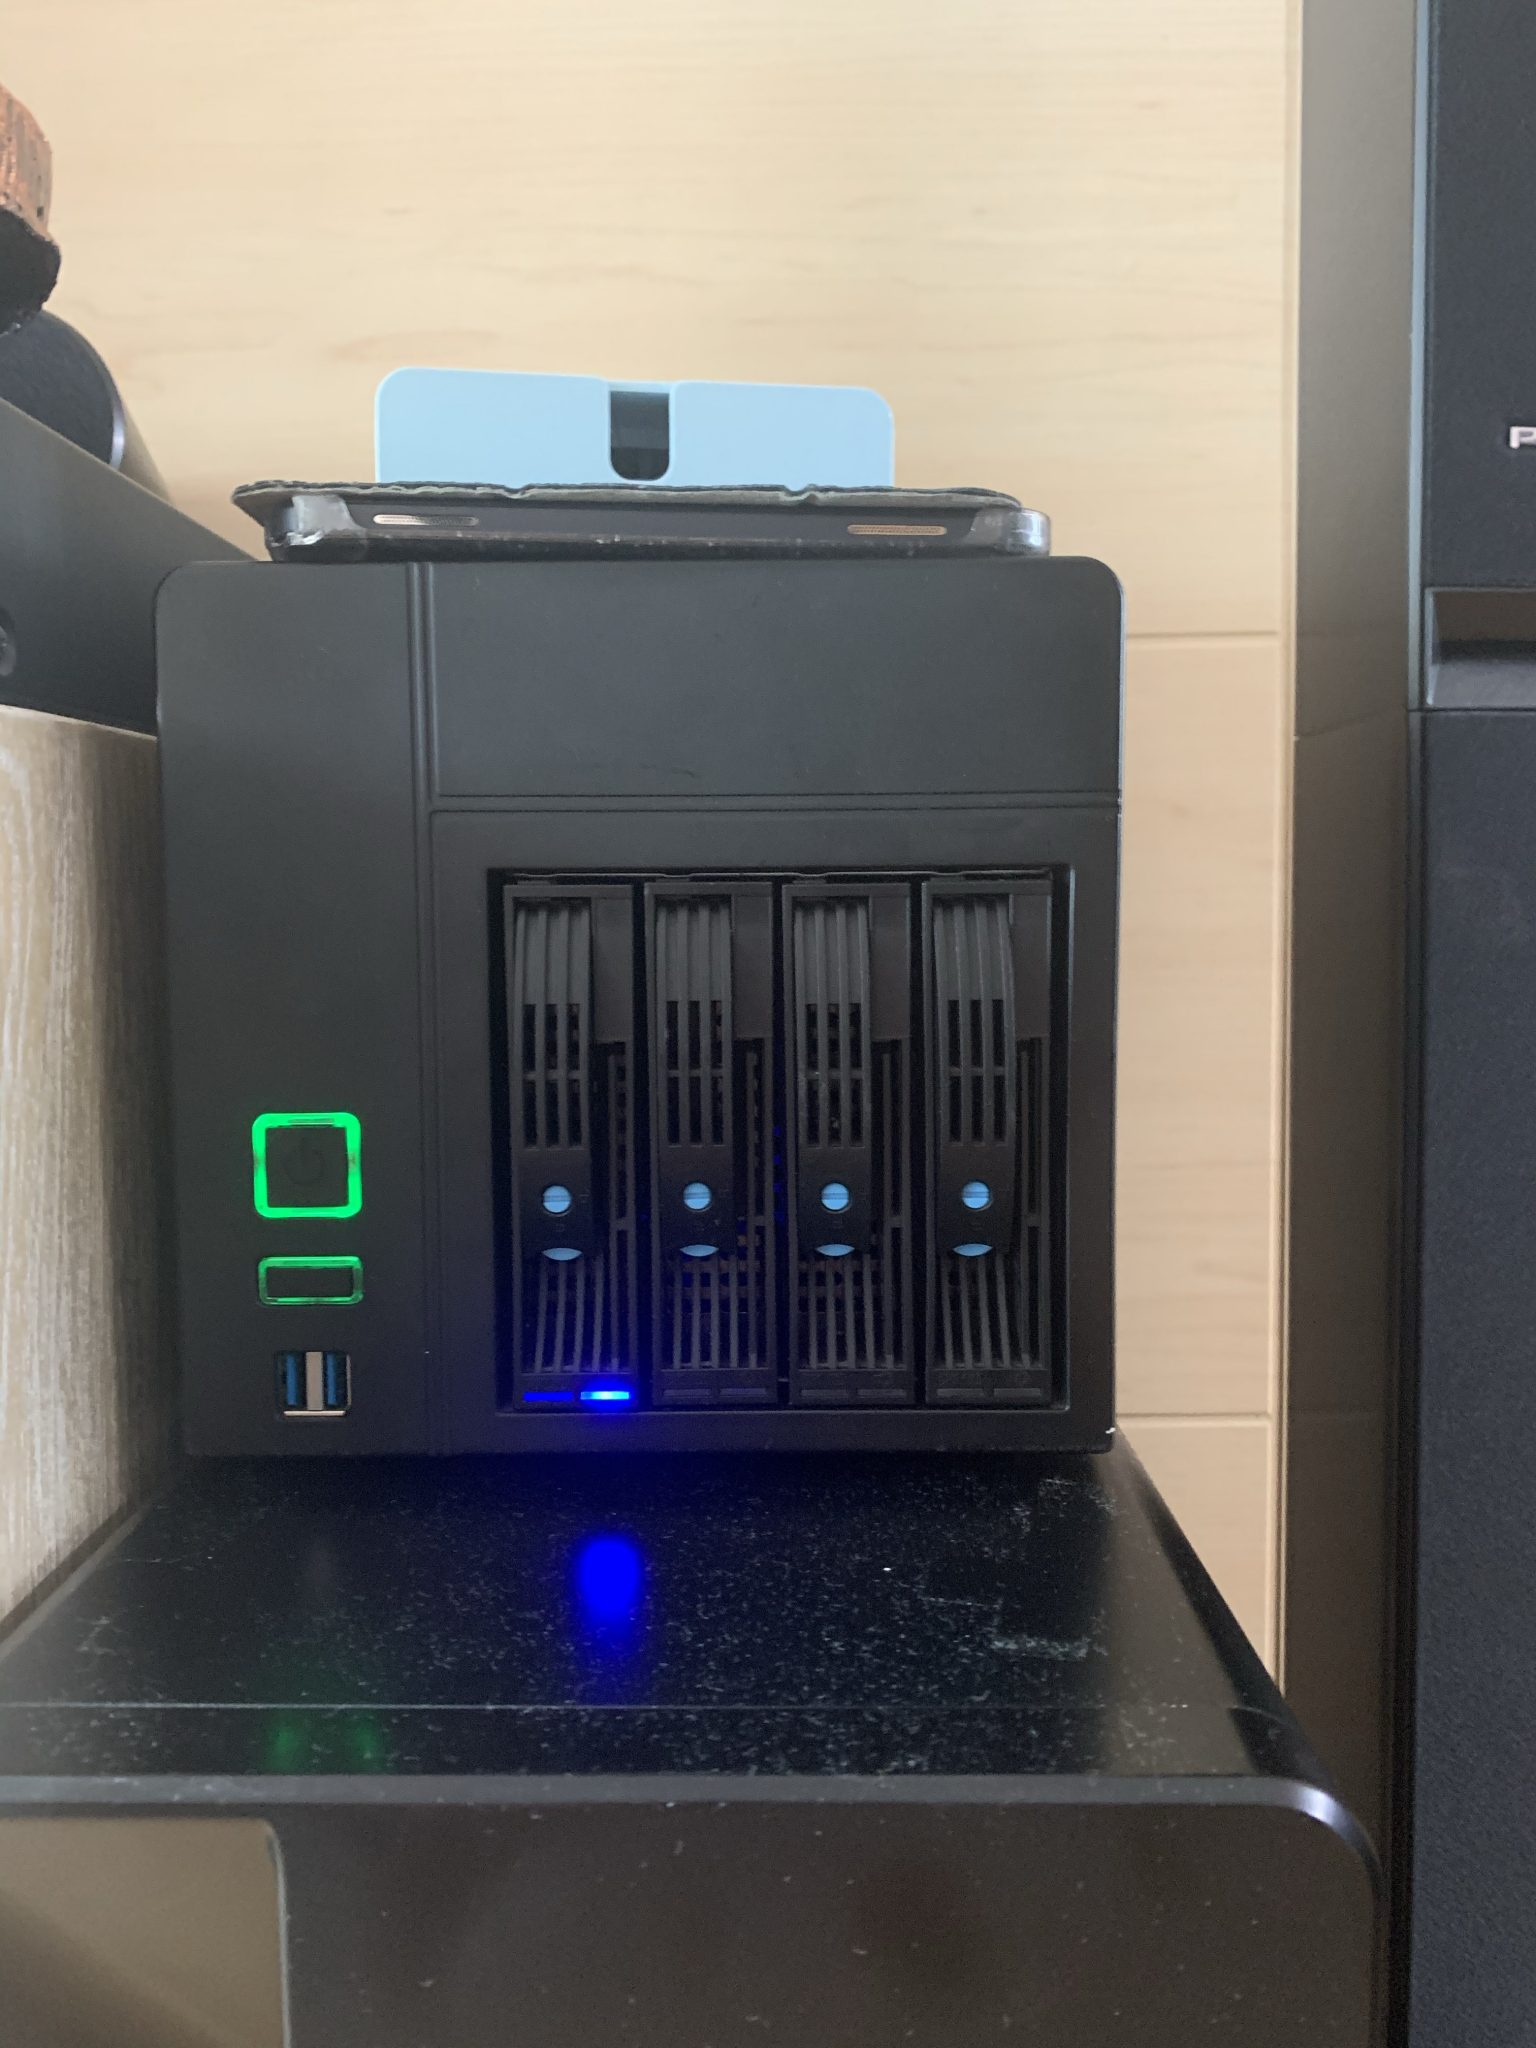
The previous case was awkwardly placed next to the cabinet, but this new case is so compact that it fits perfectly on top of the subwoofer. It doesn’t look bad at all and is just the right size.
The only downside is that the included cooling fan is extremely loud. However, since I currently only have one hard drive, I simply unplugged the fan for now.
The hard drive is noisy too, so when I get my next paycheck, I’ll buy a NAS SSD along with a new cooling fan and replace them both.

“If you purchase the product through the banner above, I will receive a certain amount of commission.”